How to set-up your page content
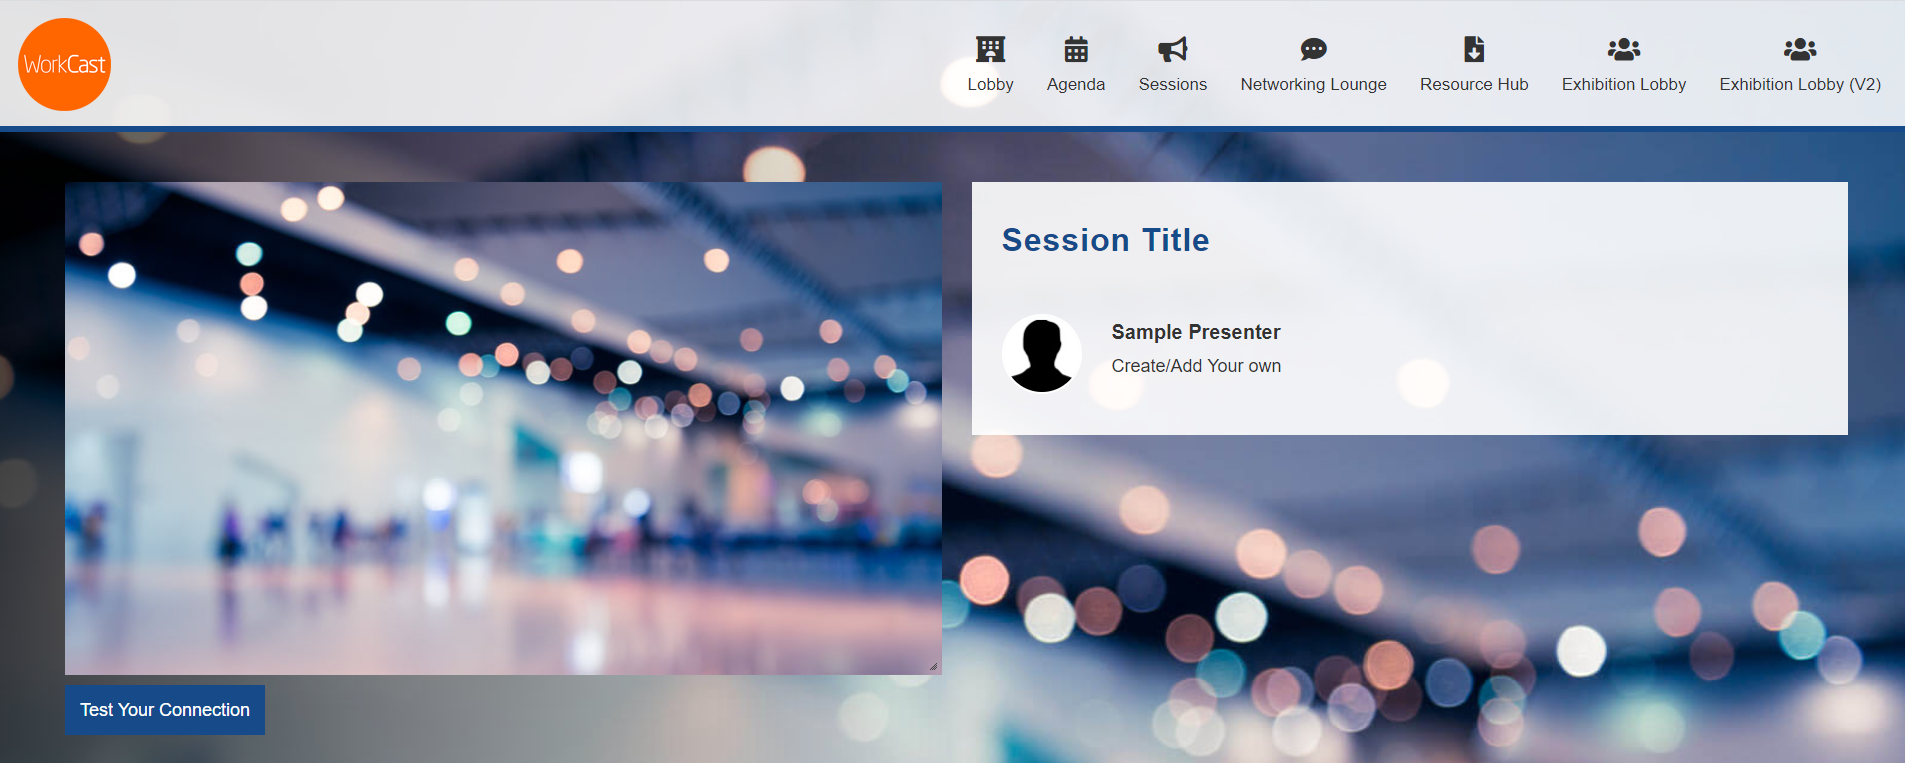
You can add page content to show alongside your media using the following fields on the Session (On-Demand event) event session/page. This could be an overview of your live session, for example.
- Heading
- Description 1
- Description 2
- Description 3
Please see the content editor page for guidance on adding your text.
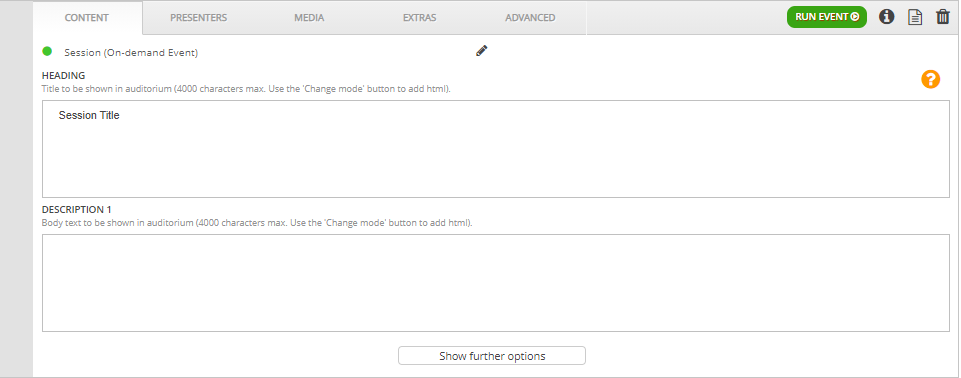
| Remember: Click "Save" and "Publish Draft" |
How to set-up your filter?
If you have already set up your Sessions Lobby, you won't need to complete any additional set-up here. If not, please navigate to the Sessions: Sessions: Event Sessions section in the Filters tab. Here, you can add the event sessions/pages that you’d like to show.
To add an event session/page to this filter, simply click the Plus icon, and search for your session. If you do not know the name of your event session/page, just click Search and you will see all available event sessions.
Note you can add two types of session to this filter:
- Session (On-Demand Event) (Video)
- Session (On-Demand Event) (No Video)
View this article if you are unsure how to add event sessions /pages

| Remember: If you make any edits to the filters, remember to refresh filter changes! |
What else can I add?
- Presenters
- Media
- Extras such as Polls and Documents & Links
- Any Advanced options you can use, such as HTML Headers. HTML headers can be used to update the browser title, and can improve useability and accessibility. Note that the 'Advanced Display Title' is used as the subheading if linked from a session pod