What are Resources?
This is where you can add documents and links to your event, which will show in the Resources tab on your Event Auditorium page and can be accessed by your attendees.
Types of documents/links accepted:
- Word Documents (. doc or . docx)
- Portable File Documents (PDF)
- Spreadsheet (. xls or . xlsx)
- PowerPoint (. ppt or . pptx)
- JPEG/PNG images
- MP4 (must be an MP4 URL, you cannot directly upload an MP4 file into the documents & links section)
- Web URL's
How do I add them?
Within the Session Setup & Studio Access section of your event navigate to the Features tab and scroll to Resources.

Here you can choose whether to add a Document or Link by clicking on the orange buttons.
Add Document
When selecting Add Document you will see the below pop up which advises the file type supported.
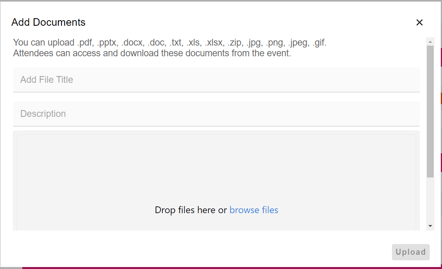
All documents need a File Title in order to successfully upload. This can be anything you'd like it to be and will show on you Auditorium page.
You can also provide a Description if you'd like to.
Click browse files to access your devices file manager and select the document you'd like to add to your event.
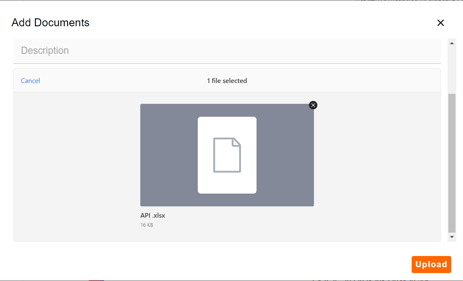 Finally click the now activated Upload button and your file will begin to upload. You can close the pop up once you see the below.
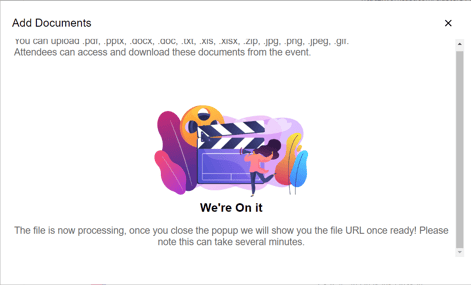
You'll see a message to say the URL is generating

Add a Link
To add a link click the add Link button
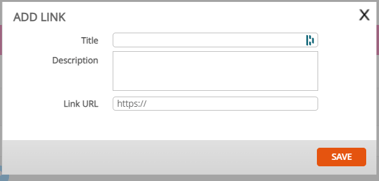
Here you can add a title you'd like to display, a description is needed and the URL you'd like to appear on the auditorium. Click Save.
Once you've added the resources scroll to the top of the features page and click save and publish draft to save this to the event.
Important Notes:
- Ensure there is no spaces or special characters in the document file name before uploading. (You can have spaces/special characters in the Title and Description)
- Once you have pressed save, it will begin to generate a shared URL. You will see: URL generating, check back soon! This can take around 5 minutes to generate.
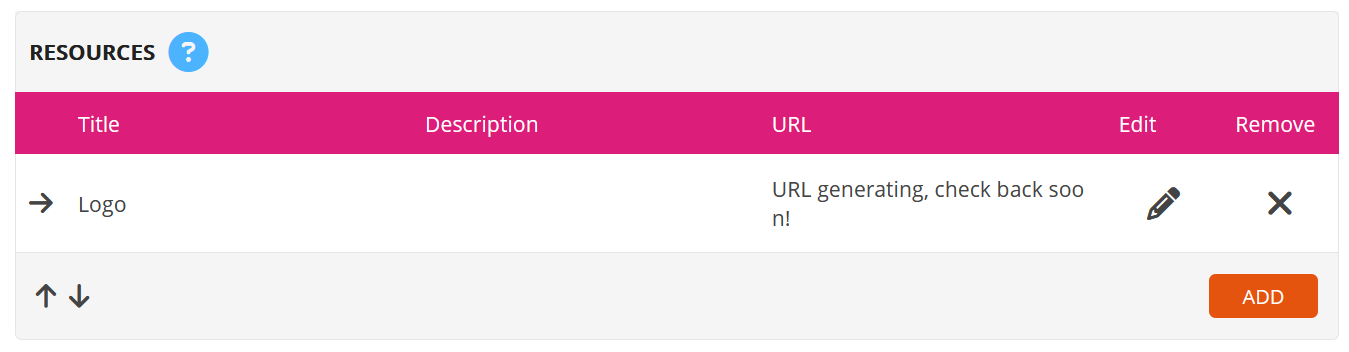
- Once the URL has generated this is how it will look in the back end of the platform.

You can then scroll back to the top of features. Save bar and Publish Draft to make this available on the Live auditorium.
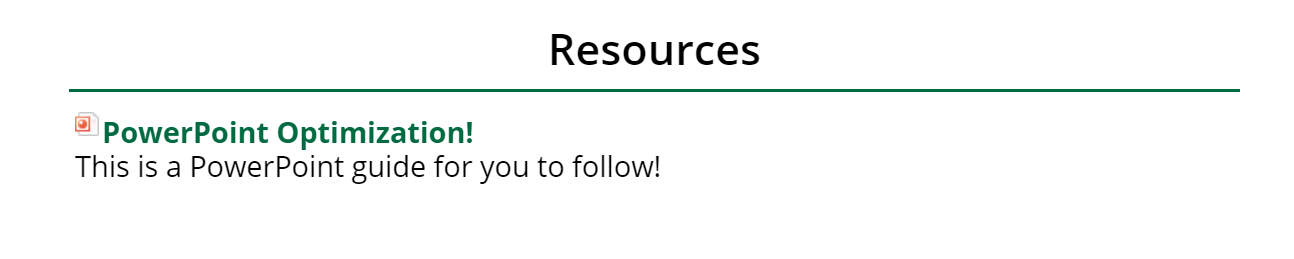
Below is how it will look on the live page (Template depending)
Your event build is almost complete! Next steps... Adding a secondary logo