To create an event:
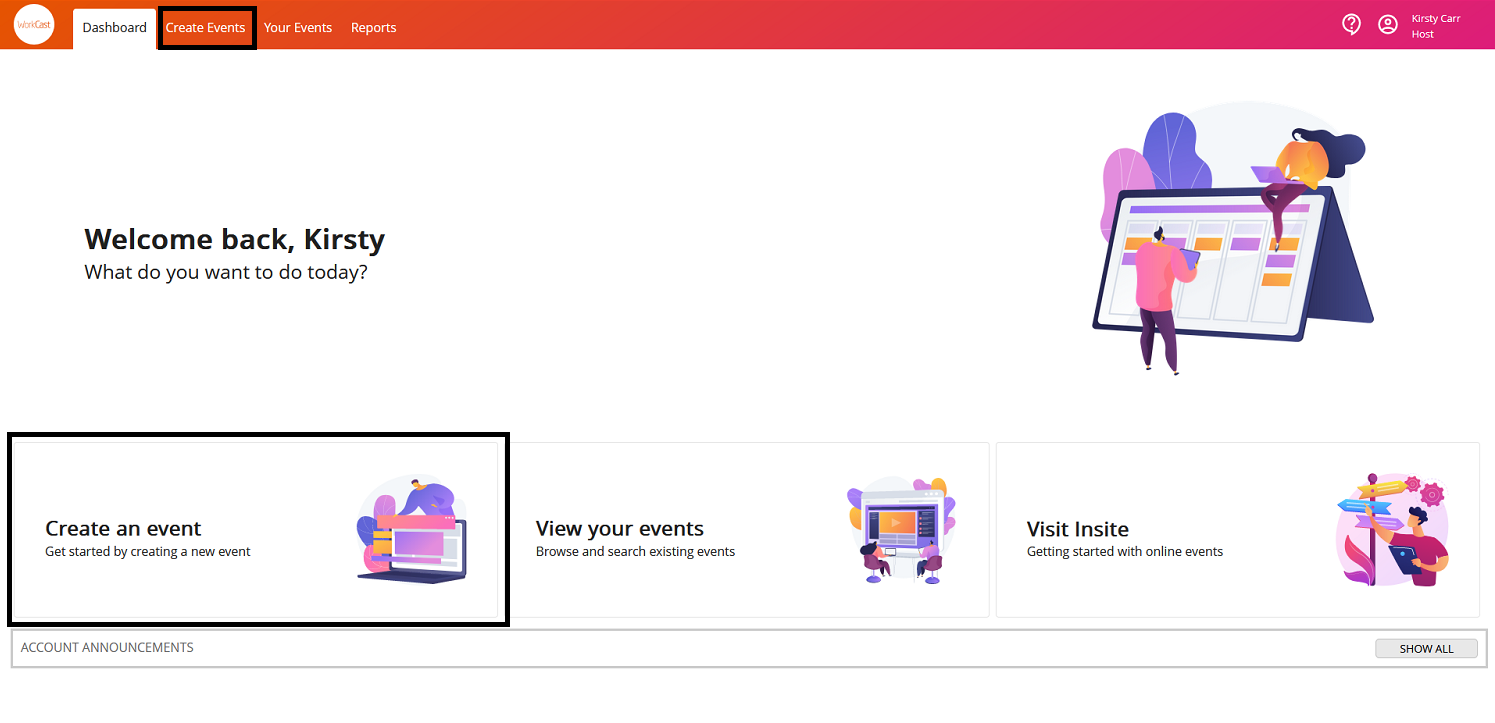
On the Dashboard you can click Create An Event option or you can click on the Create event tab located in the menu to the top of the account page.
To the top of the page you will see two options, select Webinar Libraries and Virtual Events. 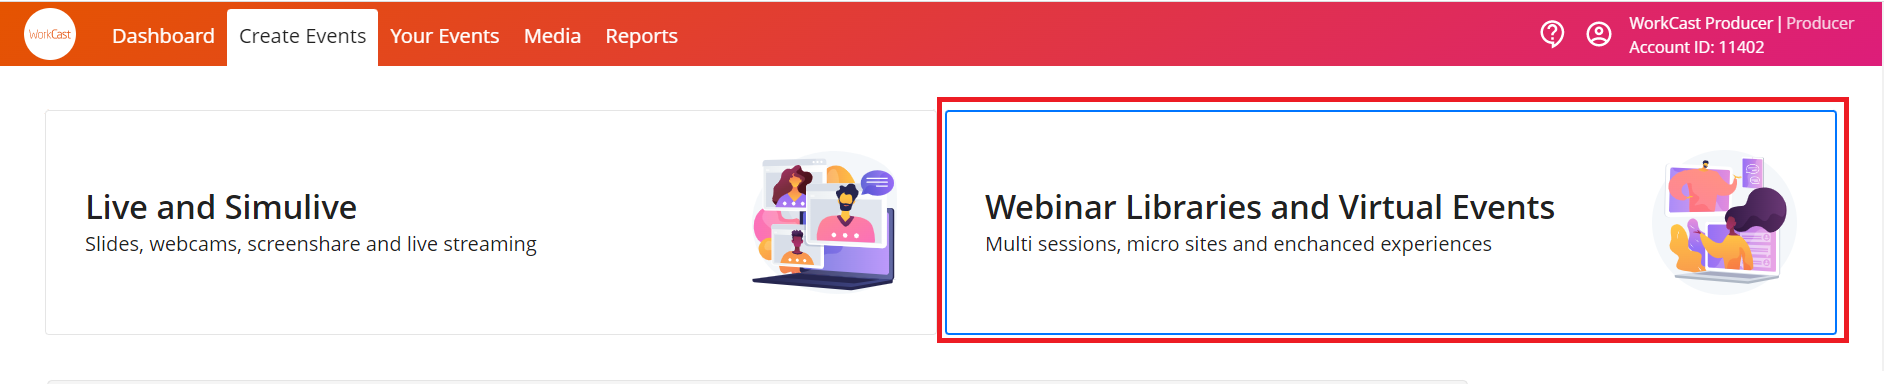 This will then load the templates available in your account.
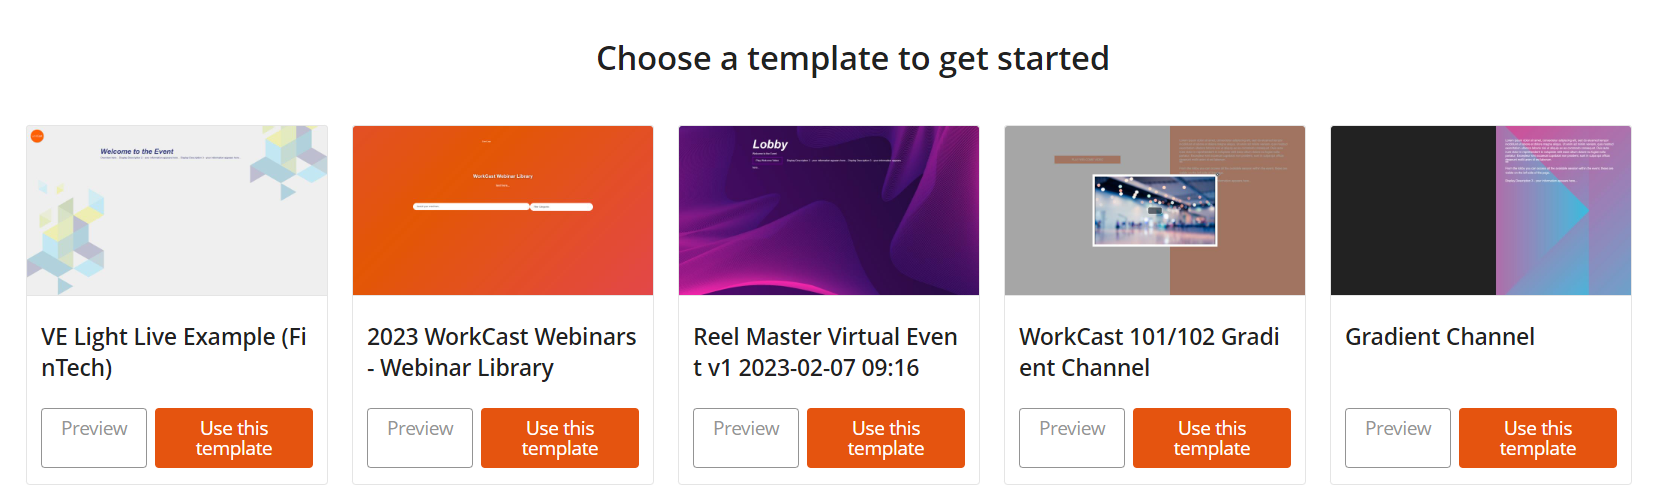
To select a template click Use this template.
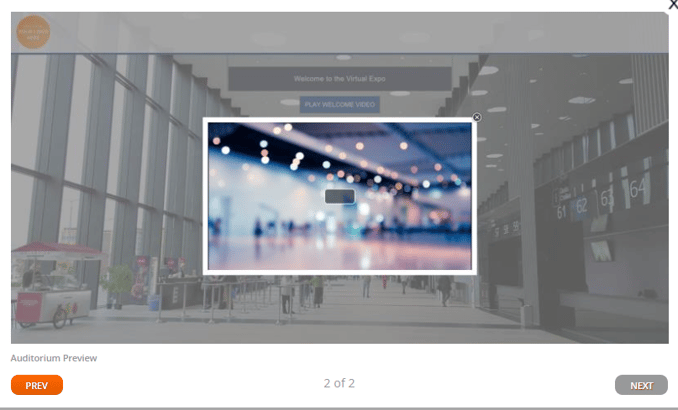
To preview how the template looks click the Preview option. This will open a pop-up where you can view the Registration for and the Auditorium.
How do I add my event details?
After you have clicked Use this Template, you will see a pop-up where you can configure basic event information.
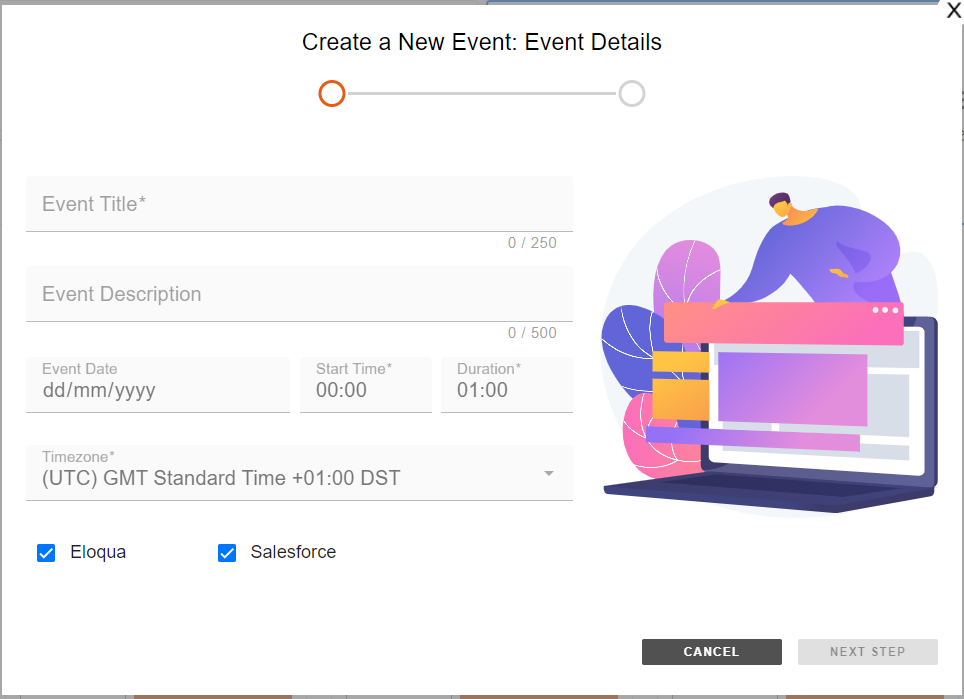
Please enter your Event information into the following fields:
-
Title: This will be the title of your event
-
Description: You do not have to enter a description
-
Event Date: The date when your event will be broadcast.
-
Start Time: The time that your broadcast will begin. (Note: this is in 24 hour format)
-
Duration: The duration of your event. Select in hours and minutes
-
Default Timezone: This defaults to GMT, so please ensure this is changed to reflect your location.
Remember: These details can be changed at a later time if you wish to do so
If you have chosen to integrate your CRM for event data to export you may also see this option available. I.e Eloqua / Salesforce. If data export is not required and the box is check, uncheck this.
Once you have completed all fields, click Next Step. You will see a summary of the information you have provided. if the information is correct click Create Event, if you'd like to return to the previous page click back to event details.
How do I navigate the Virtual Event screen?
Once the event is created the page will reload to the below: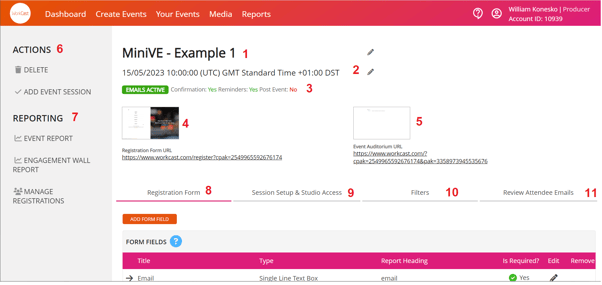
-
The event name - To edit this field, just click on the name.
-
The event date, time, and timezone - To edit this, click on the text.
-
Emails Active - Here you can see if your Confirmation, Reminder, and Post Event emails are active or not.
-
Registration Form URL - This is the URL your attendees will use to register for the event. If you click on the URL, you can preview how the Registration Form will look for your attendees.
-
Event Auditorium URL - This is the URL that your attendees will use to view the event lobby. Tip - You can also use this URL to preview your event!
-
Actions:
-
-
Delete - If you’d like to permanently delete the entire event click here. You will receive a pop-up prompt asking you to confirm this by typing the word DELETE. Please note this cannot be undone.
-
Add event session - To add an additional event session into your Virtual Event this option and choose the session type from the list. (Please note, the sessions available will depend upon the Virtual Event template purchased)
-
-
-
Event Reporting - Here you can see all event reports such as Registrations, attendance and more. Click here to find out more on Virtual event reporting
-
Engagement Wall Report - If you are using engagement wall as your chosen attendee engagement tool and would like a report on this data click this option. The user who requested the report will receive an email within around 5 minutes of clicking the report option. Click here to learn more
-
Manage registrations - Click here to understand how you can manage your registrations
-
8. Registration Form - Click here for further information.
9 . Session Setup & studio Access - Here you will find all event sessions within your event. Each session is editable with options to add content, presenters, slides/media, features (I.e Attendee engagement, polls, resources and more) and extras. You can also join the event studio within this tab.
10. Filters - Here is where you can organise your event sessions and how they display on your Virtual event. To learn more Click here
11. Review Attendee Emails - Click here to understand how to edit your event emails
How do I save my event?
Each time you make an edit to the event or event session, a green Save bar will appear to the top of the tab. Once you save the changes this will be replaced by a blue bar which will allow you to Preview the changes before making them live. To publish the changes click Publish draft.
