This article will take you through how to create an On-Demand Event from a Self Service Live Streamed Event
Once your Live Stream event has concluded you have the option to convert it to become available On-Demand.
The event URL's will remain the same as those used for the Live event and attendees who have accessed the live event will have access to the On-Demand without having to re-register.
Quick Links
Creation of On-Demand event Session
Editing the On-Demand event session once created
To understand how to edit/Activate your Post Event/ On-Demand emails click here
Creation of On-Demand event Session
Currently, to create the On-Demand version of your live stream event you will need to email our support team at support@workcast.com to request this.
They will need:
- A brief explanation of your request
- Your Account ID
- The event Title
- The event Date and Time
The team will then create and publish the On-Demand event session for you using the WorkCast recording of your live event and confirm once this is completed.
Note: If you don't wish to use the WorkCast recording and instead would like to use a local recording of your event, please upload this to your account prior to contacting the team and provide the title of the media within your request.
For information on media requirements and how to upload media click here.
Editing the On-Demand event session once created
Once the WorkCast Support team has confirmed the On-Demand session is created, log into your account and locate the event within the Your Events tab.
Click into the Session Setup & Studio Access tab. Here you will see two event sessions available (You may need to scroll down to see this).
To the top of the session list will be the unpublished Live event session and beneath that is your published On-Demand Session.
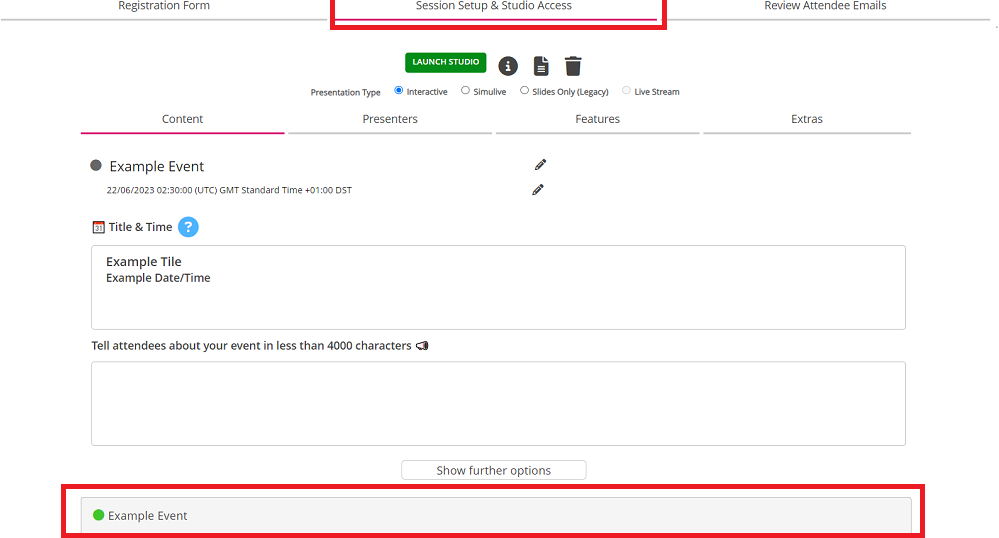
Click on the On-Demand session to expand this into an editable state.

Here you can edit the On-Demand version of your event. We recommend you edit:
- Content - Title & time text box - Replace the date/time with an indication of on demand. I.e On-Demand now available. This will update on your registration and auditorium page.
- Features - Attendee Engagement - We recommend you set this to None.
Note: The recording of your live event will be attached to the On-Demand session within the event. If you’d like to change the media please click here for information on how to do this.
If you’d like to trim the beginning or end of your media click here
If you’d like to trim the beginning or end of your media click here (LINK)
Once you have made your changes you can save and preview.
When you are happy to proceed click Publish Draft.

Editing the Registration Form
To edit the registration form for your newly converted On-Demand event session you will need to follow some extra steps to ensure this is saved.
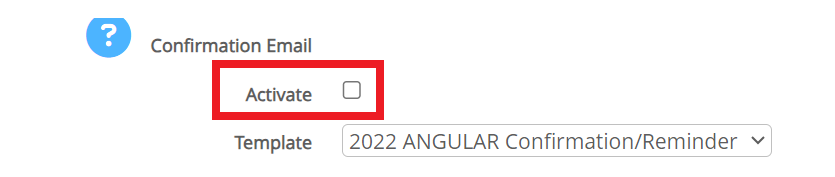
1. Deactivate the event confirmation email - When moving session locations the confirmation email can be triggered. To prevent this, deactivate the email in the Review Attendee Emails tab of your event and save the change.
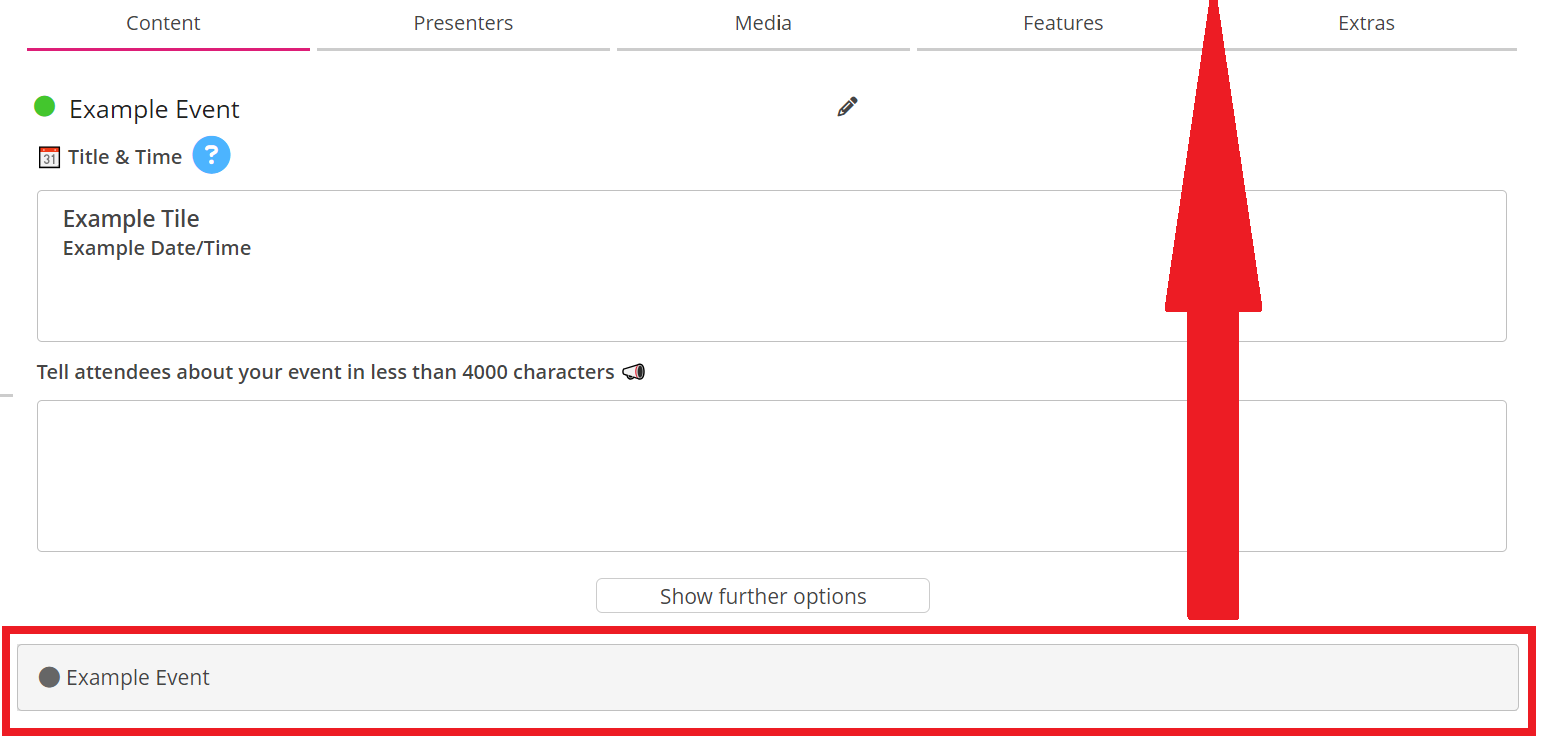
2. Navigate to the Session Setup & Studio Access tab, here you will see your published On-Demand session appears below your unpublished Live Session.
To edit the Registration Page, the On-Demand event session needs to be moved to the top of the list of sessions. To do this click the On-Demand session and drag this above the live session. You will get a change warning to confirm this.

You can now edit the Registration Page by clicking on the Registration Form tab. Remember to Save and Publish changes.
Once you are happy with your changes. Click and drag the bottom unpublished Live Session back to above the published top On-Demand session. You will get a change warning to confirm this.
Your Registration Page should now be updated and can be checked.
NOTE: To ensure your event reporting is accurate, ensure that the sessions are in the correct order at the end of this process with the unpublished Live Event at the top and the published On-Demand below this.
To understand how to edit your Post Event/ On-Demand emails click here