The WorkCast Platform offers the ability to edit the beginning and end of an event recording or uploaded media using our Trim Media function.
Note: You CANNOT edit anything from the middle of the media using this function.
Quick links
What to do if you edit the media incorrectly
How to use the Trim Media tool
Navigate to the Media tab of your account.
Here you will see all of the MP4’s and slides that have been uploaded or recorded in your account with most recent to the top of the list.
To the right of the mp4 files, you will see a green button that says ‘Trim Media’
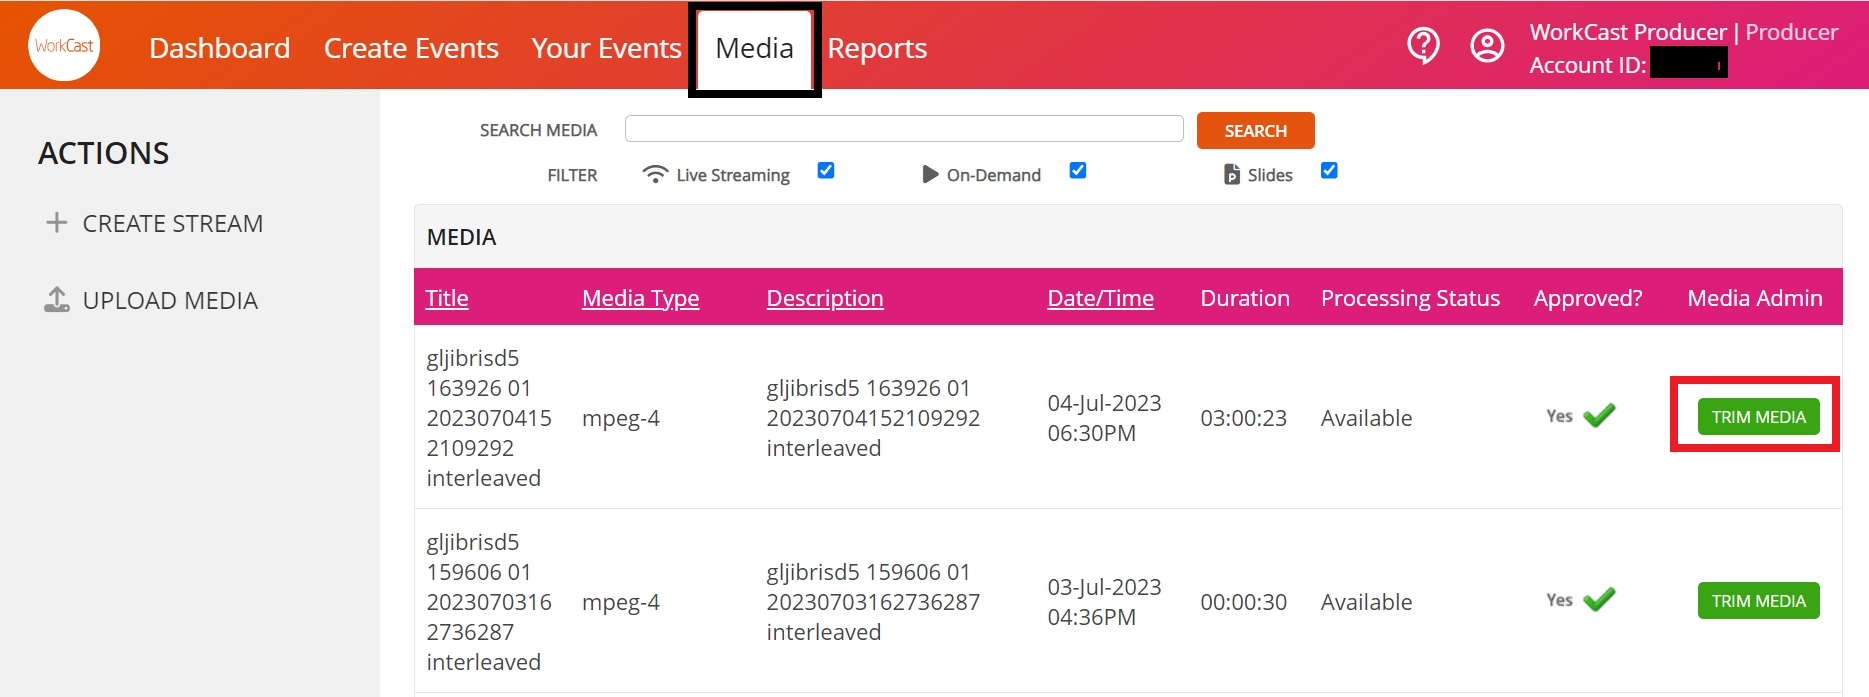
Locate the mp4 you'd like to "Trim" by looking through the list or searching the Title in the Search Media text box.
Tip: Event recordings will have the Live event session ID in the title.
Once you've located the media you'd like to edit, click the Trim Media button. This will then load the following page:
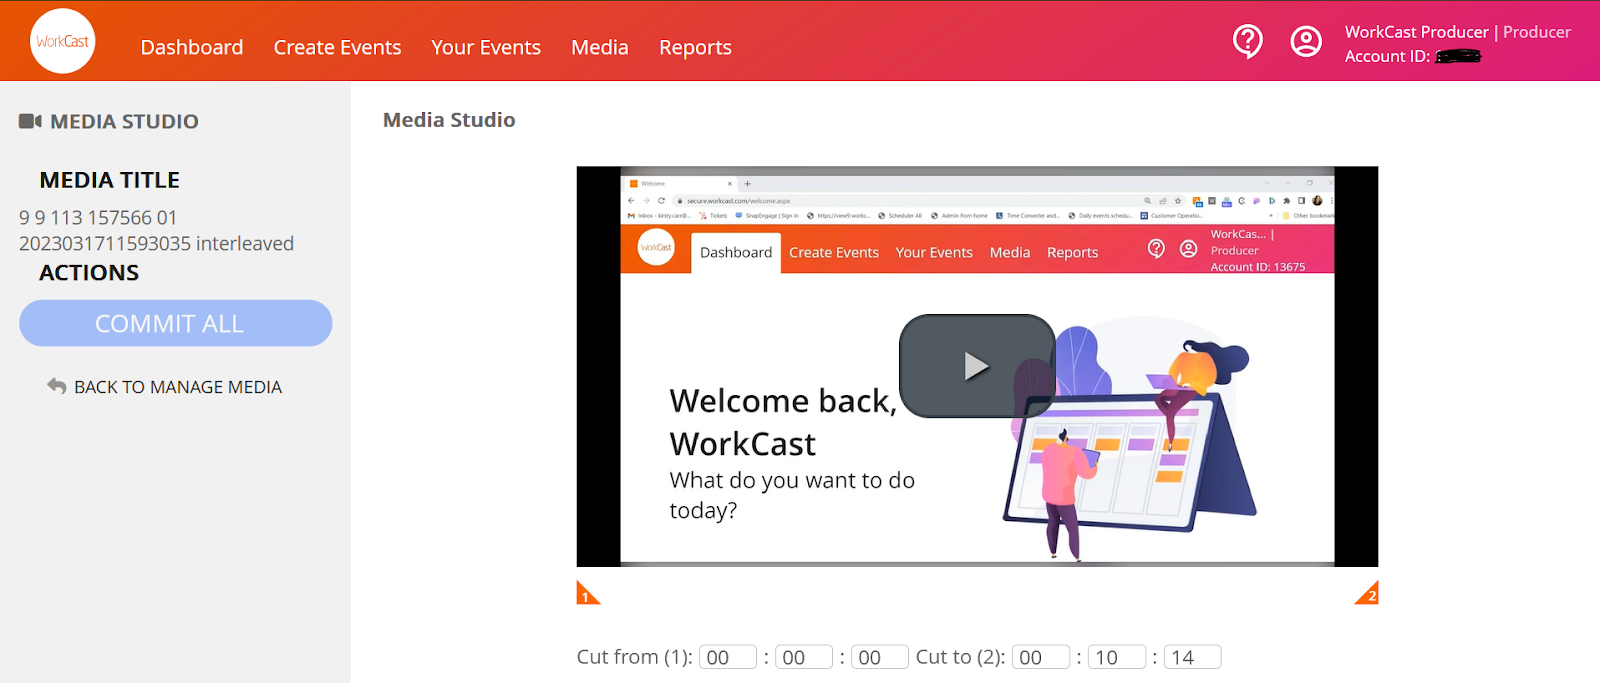
Under the media window you will see two orange arrows at either side numbered 1 and 2. 
- Orange number 1: This indicates the beginning of your media.
- Orange number 2: This indicates the end of your media.
To edit the beginning or the end of your media, click on the corresponding number and drag the indicator to the time you'd like your media to begin or end.
Can't get the time exactly correct? Don't worry, you can type the time into the Cut from (1) or Cut to (2) box's available beneath the timeline bar. (Hours, Minutes, Seconds)
Example: If you wanted to cut 14 seconds from the beginning of your recording you’d drag the number 1 to 14 seconds in.
Grey = Section which will be cut
White = Section between 1 and 2 will remain.
Once you’ve moved the slider to the time you need and have checked to see this is correct, click ‘Commit all’ located on the left of your screen.
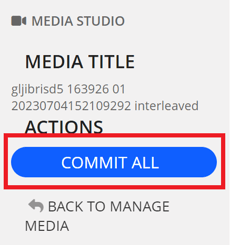
Note: To activate the ‘commit all’ button, you must move one of the arrows first, and not just type the time in the box without moving the arrow at all.
Your page will reload to the media list and the Processing Status will show as Edits Processing. This can take a few minutes to complete.

If this media is already attached to your event and you do not have automated polls attached you don't need to do anything as the media will automatically update to the new version.
If you do have Polls attached to you will need to download the media and reupload, attach to your event and re-add your poll questions these to work.
What to do if you’ve edited the media incorrectly?
The good news is, you can still access and download the original file if you've made incorrect edits. However, since the original file is overridden when edits are saved, you'll need to download the original media and reupload it to use or edit again.
Please note that reporting is tied to the media file itself, so if you edit the media, some reporting data may be lost and cannot be recovered.
Locate the Recording in the Media tab and click on the title. Here you will see View Unedited Media.

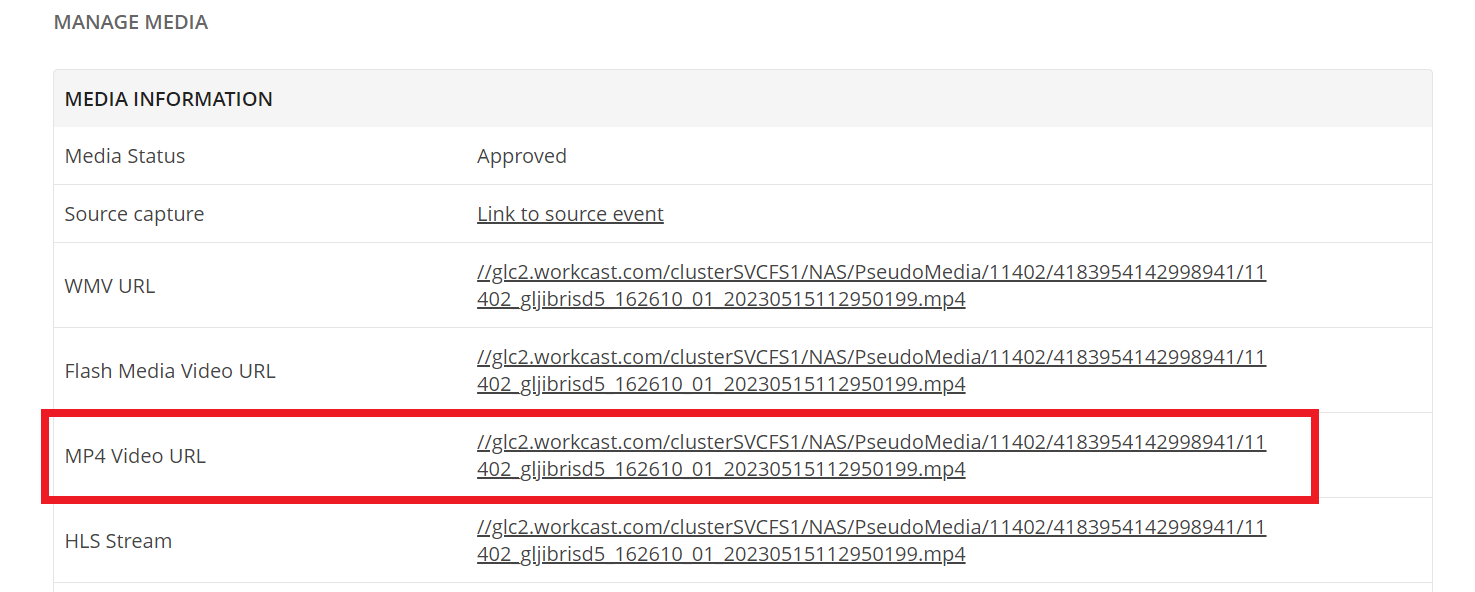
Click view Unedited media and the page will load to the Manage media section. In here, locate and access the MP4 Video URL and Download the unedited media.
Once the media has downloaded to your device, Return to the main Media section of your account by licking the Media tab at the top of the account. To the left you will see Upload Media.
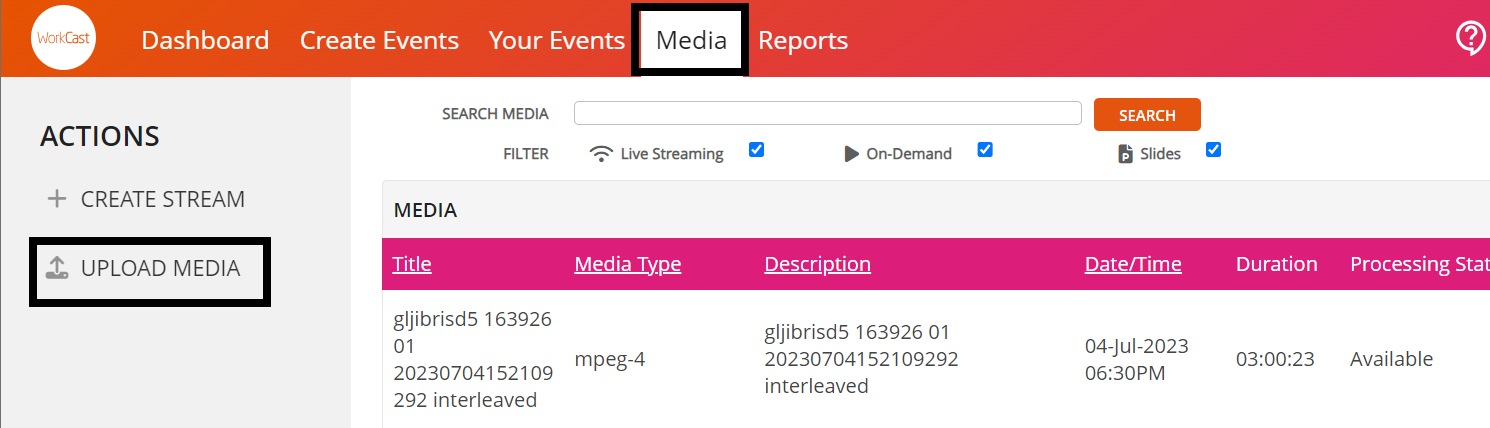
Here you can click Add File to select the media from your local drive to upload. Once selected, click Start and you will see a progress bar as it is uploaded.
Add a Title to the media so this can be located within your account and once the progress bar shows complete click Upload.  Your account will reload to the main media tab where you can now choose to Trim media again using the above steps.
Once the media has been correctly trimmed you will need to attach this to your event.
To do this locate your event and navigate to the Session Setup & Studio Access tab. In here, click into the Live or On Demand Event session and locate the Media tab.
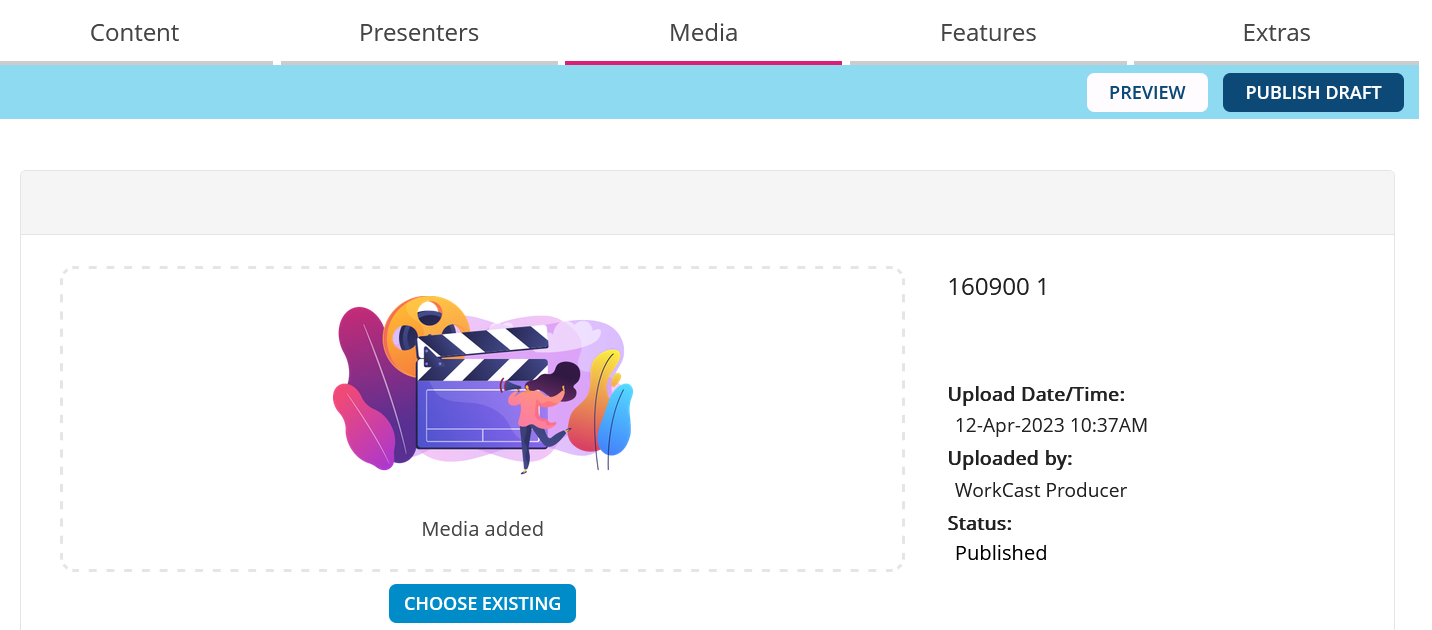
Select the Choose Existing option and search for your updated media.