Registration Form Content Boxes
Within the Registration Form tab, beneath the form fields section you will see four text box options.
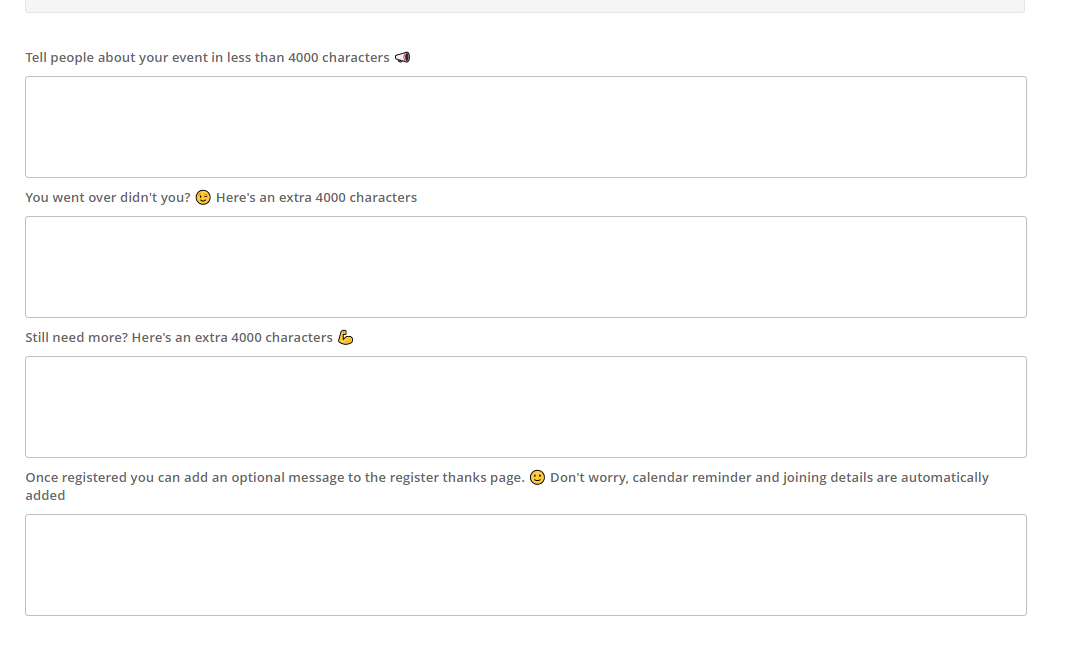
The first three content areas allows you add text, links and Images to the event Registration form URL. Each box has a 4,000 character limit totally 1200 characters for your registration page.
The fourth box allows you to add text to the Thank you page which displays after an attendee registers. Whatever you choose to add in this box, will appear underneath the Join the event, Add to calendar, and FAQ icons.
Once you have added in text, click save. You can preview the page, by clicking into Preview Form prior to publishing these changes live.
Notes:
-
When copying and pasting from a Word document or alternative program you may see the below popup.
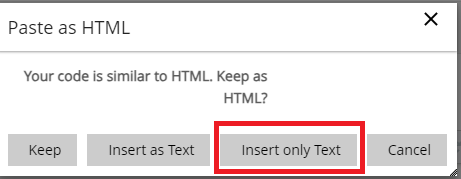
This indicates that there is hidden HTML code from these applications which can impact how the text appears on the Registration page. To remove this click Insert only Text.
You can then format your text using the WYSIWYG options within the content box.

Adding Images and Links to your Content
The fields can accept HTML code and there is also an editor built in to allow you to add images and links. To view a more detailed article on adding links and images to your webinar content please click here.
Next steps.. Adding content into your Event Experience (Auditorium)