What is a media player image?
This is an image which will appear in the auditorium over the media player prior to your event broadcast and after. Should your event be On Demand it will appear over the media player image until the attendee clicks to play.
Types of files accepted:
- JPEG
- PNG
- GIF
Sizing:
- 850 pixels x 478 pixels
- 16 : 9 Slides saved as a JPEG image.
Uploading a media player image.
First, you would need to click into your Event within the platform > Session Setup & Studio Access > Features
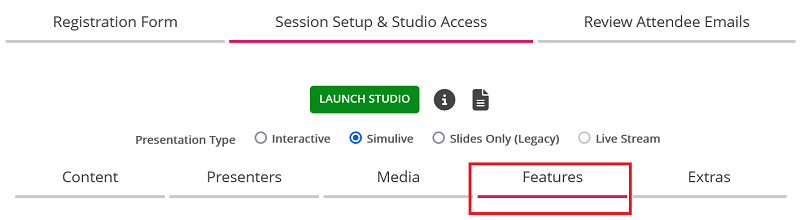
Then you would scroll down to the Media Player Image section
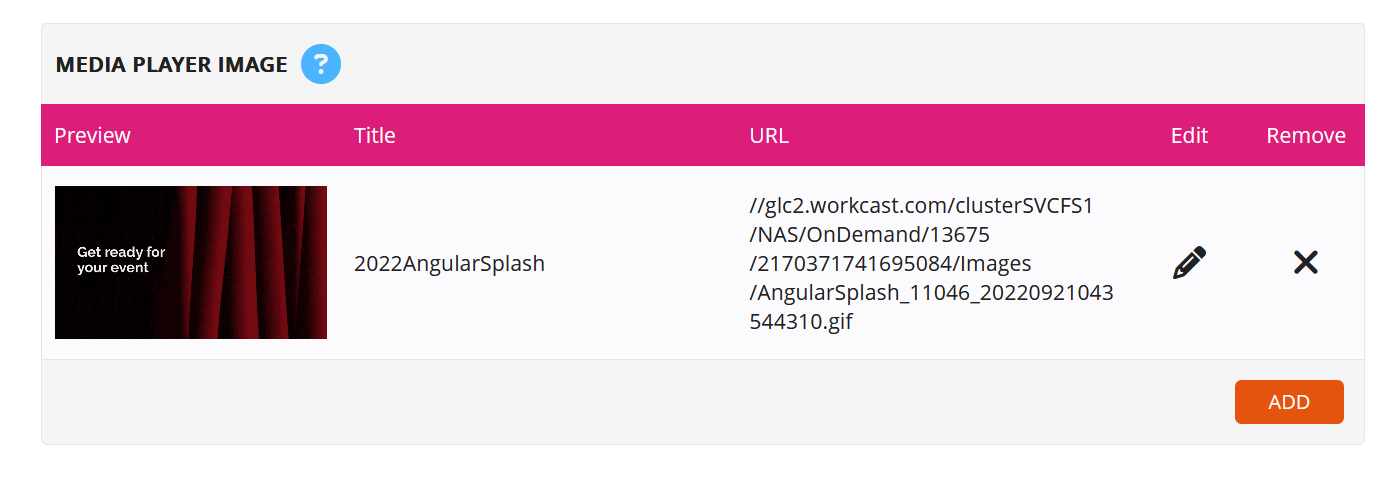
- Press the orange ADD button and choose an existing image that has been loaded, by selecting the image and it will place on automatically. You then scroll to the top of the Features section and click Save and Publish draft.
OR
- Press the orange ADD button and upload a new splash image by pressing UPLOAD, and then choosing a file from your own saved images. It will add automatically. You then scroll to the top of the Features section and click Save and Publish draft.
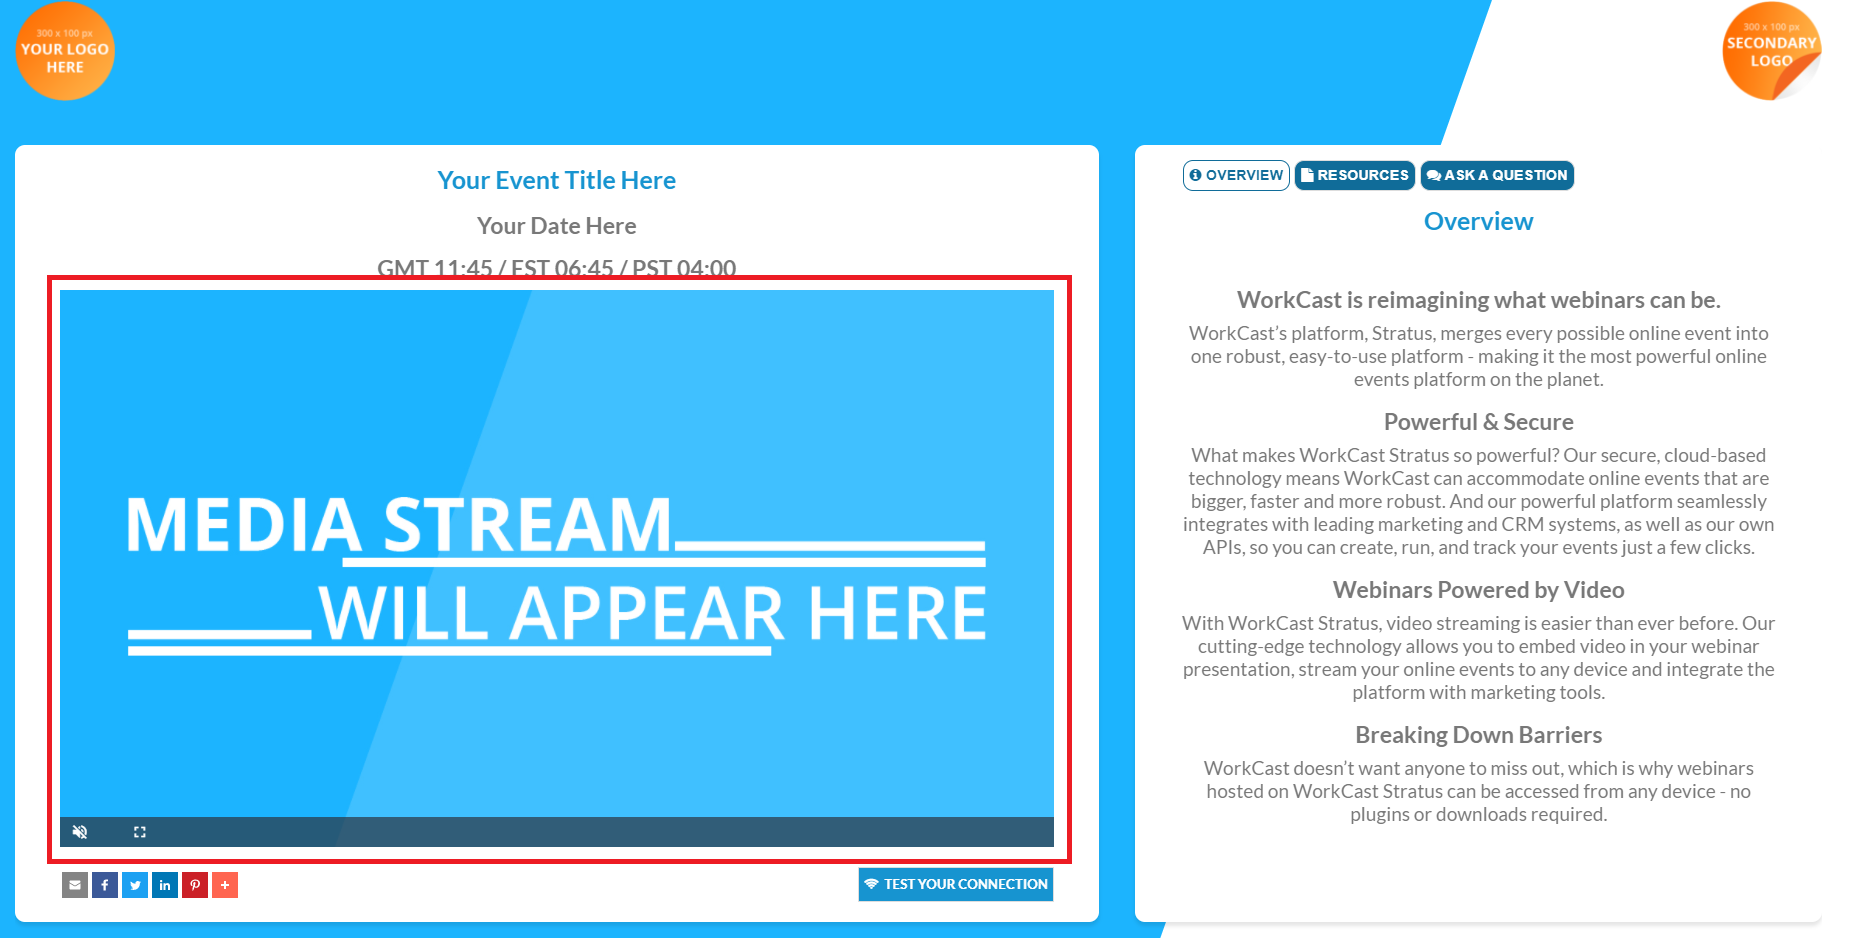
See the below-highlighted within the red area to view an example
Now let's take a look at
Different presentation types and how to choose them