Quick links
How to login to the WorkCast Interactive Studio
How to start / stop the broadcast
Change the auditorium view - Follow me
How to login to the WorkCast Interactive Studio
The easiest way to access the studio as a producer is to first login to your WorkCast Creator account.
Once in your account navigate to the Your Events tab and filter the event list using the search bar to search the specific event title or date range. Upon locating the event to access the studio you can either:

Click on the Launch button located to the right of the event information.

or
Click into the event and navigate to Session Setup & Studio access and click the Launch button here.
The WorkCast Interactive Studio will then open in a new browser window.
Upon first entry, the WorkCast studio will look like the below:

Here you will see the Pod options menu bar to the left of your screen with the Presenter Only chat pod , My Connections Pod and the Cloud Slides pod open and activated.
Note: All pods within the studio are re-sizable. To do this click the bottom right of the pod and drag to the size which best suits you.
Interactive Studio Pods

To understand the pod's available within the studio and how to use them please click here
Producing your Live event
The Interactive Studio offers the same interface for all Producer, Host, and Presenter users, with just one key difference—the broadcast button. Only Producer users have the ability to broadcast, giving them control over when to go live. This simple distinction ensures that while everyone has the tools they need, the power to manage the broadcast remains in the right hands.
How to start / stop the broadcast
Located to the top right of Producer users screen is a broadcast option which does not show to presenter users. This provides you with the ability to broadcast your event live.
Note: The broadcast button will be greyed out until you join the My Connections pod.
A popup reminder will appear 1 minute prior to your scheduled broadcast time for all users.
 Once you are happy to broadcast live to the audience, click Broadcast.
You will see the button then change to “Broadcast Starting” as the studio connects.
All users within the studio will then hear a voiceover advising "live streaming is on". You are now broadcasting live to the auditorium and you will notice the button has changed to red with ‘Stop broadcast’
When your event has concluded click the 'Stop Broadcast' button to disconnect.
All users within the studio will hear the voiceover advise "live streaming has stopped"
Your broadcast has now concluded.
Note: Please ensure you click Stop Broadcast in the top right of the Studio, rather than just disconnecting from the My Connections pod. Until the broadcast is stopped this will continue to play out in your auditorium.
Change the auditorium view - Follow me
Though each user can customize their own My Connections layout to suit their preferences. This change is not reflected to attendees. To update the view attendee's see a Moderator must activate. Follow me.
Please note, only one moderator can activate follow me at any time
Producer users are automatically assigned moderator rights to understand how grant moderator rights to a presenter user click here
Follow me allows you to control the view within the my connections pod but also the auditorium media window (attendee view). If you have Moderator rights with Follow me enabled what you see in your My Connections pod is what your presenters and audience will see.
There are two ways to activate Follow me.

1. Click the participants button.
Select the three three dots to the bottom right. In the updated menu select More Moderations controls.
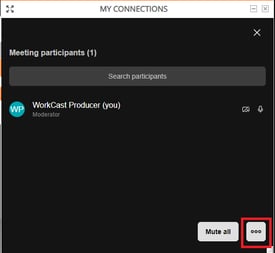


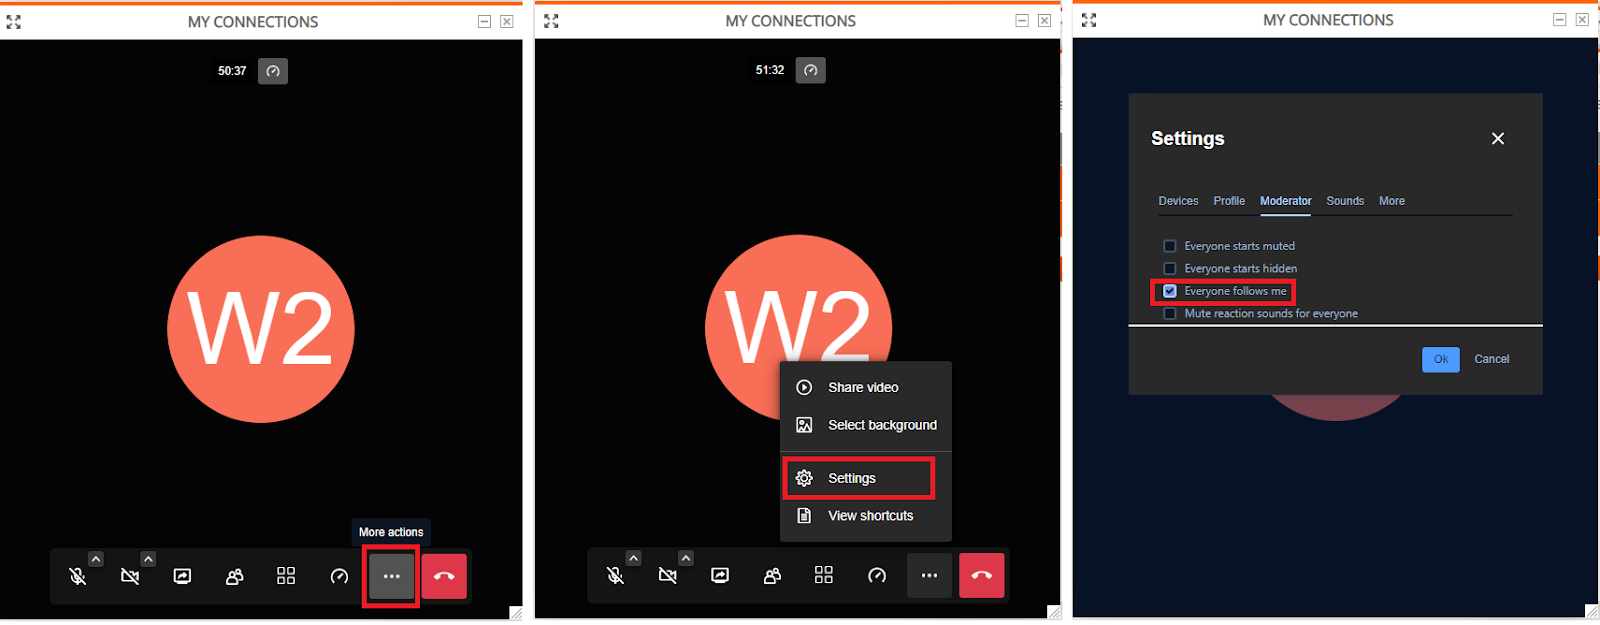
The settings pop up will appear with Moderator tab automatically selected. Select the check box next to Everyone follows me and click Ok.
"Follow Me" is now enabled. This means that whatever you see in your My Connections layout will be mirrored for all presenters and attendees. Everyone will share the same view as you.
2. Navigate to the three dots (More Options) in the My Connections control bar and select Settings. Click into the ‘Moderator’ tab. Select the check box next to Everyone follows me and click Ok.
 Once Follow me is activated you can now control the attendee view.
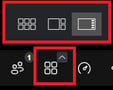
Grid view - which shows all presenters with active webcams in view. Webcam positions will re-size based on the number of active webcams.
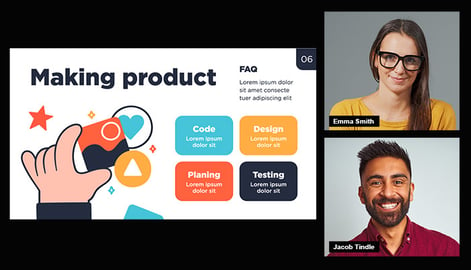 Two thumbnails - One large main window with two large webcam thumbnails within the right hand column. Whilst screen sharing content if the user has their webcam active they will appear in the top webcam slot. The next active speakers webcam will then appear within the bottom webcam slot.
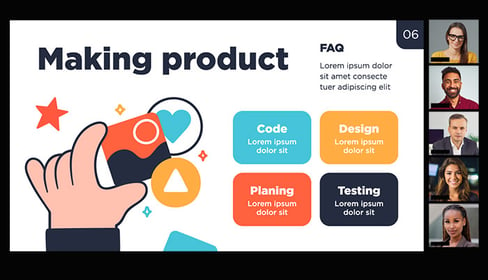
Full screen - One large main window for screen share content with space for multiple small webcams within the right hand column.

Moderator controls
Producer users will automatically receive moderator rights upon connecting in the My Connections pod. This provides them with access controls presenter users do not have and allows them full control over the event using the ![]() Participants button. Here, as a moderator you can:
Participants button. Here, as a moderator you can:
- Grant Moderator Rights to another presenter / producer (they will also keep moderator rights).
- Mute the mic of presenters - This can be 1 specific presenter, all but 1 specific presenter or all presenters.
- Ask to unmute - Give presenters a prompt to unmute themselves to speak next during your event.
- Hide the webcam of presenters - This can be 1 specific presenter, all but 1 specific presenter or all presenters.
- Kick out presenters - This removes them from being connected in the My Connections pod and as a result, removes them from the live event itself.
Grant moderator rights
We understand sometimes producing an event can be stressful so why not invite a colleague as a presenter and give them access to all moderator controls?

Hover over their name within the participants list and click the three dots and Select Grant Moderator rights. They can now access moderator controls such as the ability to activate Follow me and the ability to Mute/ask to unmute and hide webcams.
Mute 1 or multiple presenters
 To Mute everyone in My connections pod select Mute all located to the bottom of the participants list
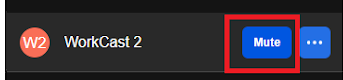
To Mute one person, hover over their name and select the Mute Option.

To mute everyone but a specific presenter hover over the presenter you'd like to remain unmuted, click the three dots and select Mute everyone else.
Ask to Unmute

 If a presenter has forgotten to unmute, hover over their name and click the Ask to unmute button. A chime will sound in their Studio with a prompt showing in their My connections to unmute.
Hide the webcam of 1 or multiple presenters

To turn off everyone's webcam in my My connections pod select the three dots located to the bottom of the participants list and then in the list select Stop everyone's video.
(Please note this will stop screen sharing also)

To turn off one users webcam or everyone but that users webcam. Click on their name and select the three dots. In the additional options select Stop Video or Disable camera of everyone else.
Kick out presenters
As with all technology, sometimes there can be glitches! But why should your event suffer if a presenters screen freezes leaving them stuck and your event in limbo when you can kick them out of My Connections?
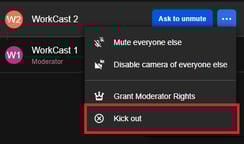
To kick out a presenter hover over their name, click the three dots and select Kick Out from the list. They will automatically be removed from the event.
Don't worry they will see the My connections Lobby and can re join!