Create a Live event

Within your WorkCast account navigate to the Create Events tab. Live and Simulive will be selected. Scroll down to choose the event template you’d like to use.
 In the pop up enter the event information:
- Date of the event
- Time you’d like it to start
- Duration
- Time zone
Click NEXT STEP to continue.

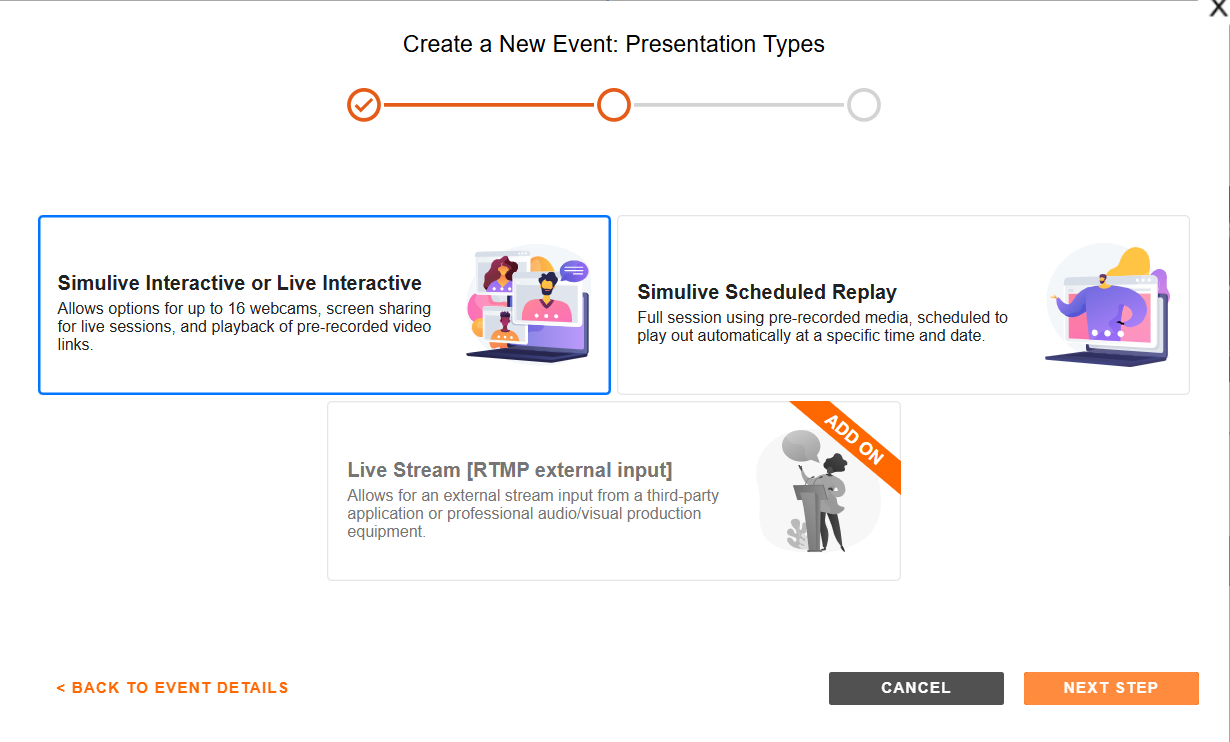
Select the presentation type you'd like to use on your event.
Click here to understand the different presentation types.
Once selected click NEXT STEP.

Check over the Event Summary. Are the details correct?
If no, click Back to Presentation types to go back.
If yes click CREATE EVENT.
Your shell event is now created:

Edit Title - To edit the title click into the text.
Edit Date/Time / Timezone/ duration - To update the date/time, timezone or duration click the text. A pop-up will appear to edit these details.
Registration Form URL - To view the registration page click the hyperlinked URL. This is the URL you will share to perspective registrants.
Event Auditorium URL - To view the auditorium page click the hyperlinked URL (please note you must be registered to access). This URL is shared to attendees via the Confirmation/Reminder and Post event emails.
![workcast_logo_orange-01.png]](https://insite.workcast.com/hs-fs/hubfs/workcast_logo_orange-01.png?height=50&name=workcast_logo_orange-01.png)
