If you are interested in having a certificate template within your account, then please reach out to your Account Manager and they will be able to advise further.
If you already have a certificate template within your account, then see below the steps you need to follow.
How to create a certificate
Click on the Create Events option on your dashboard or the Create Events tab, and click on the Live & Simulive, this is where you will find your template, and it will be named accordingly and have the word "Certificate" in the title.
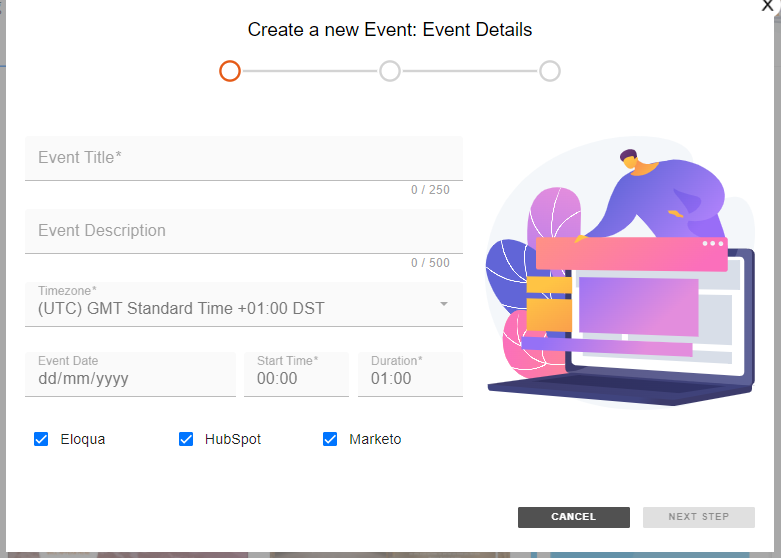
Click Use template and create event, put in the title "CERTIFICATE: …" replace the dots with the title of your actual event.
We advise you to then put the date/time at the same time as your event. You can put the time at 1 hour after your event if you wish, or, leave it at 12:00 AM as this does not affect anything.
Then, depending on what was agreed when you had the certificate template built with our onboarding team, you would then need to go into Event Experience and fill in anything you need to.
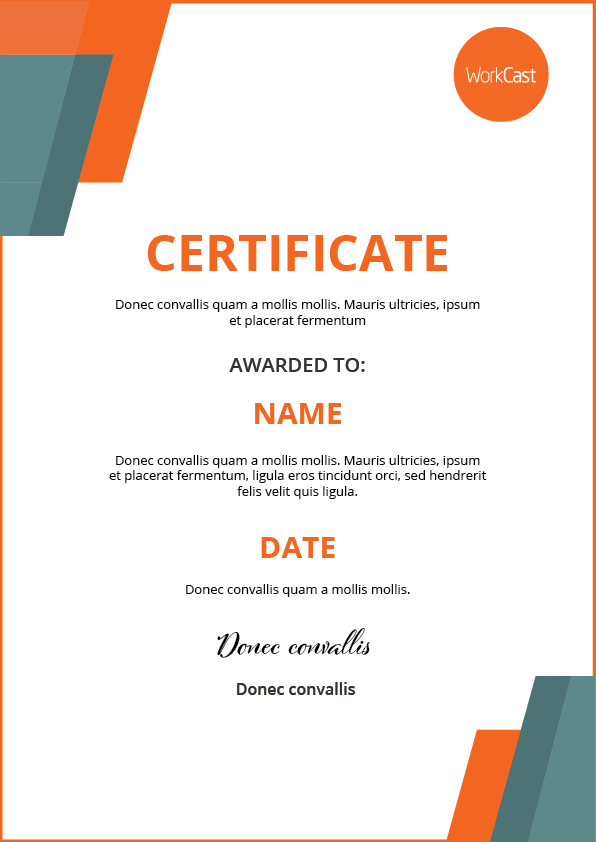
For example, if you needed to replace "Webinar title here" with the actual title, or if you want to add additional information on a per certificate basis, this is where you would do this.

As standard, we set the certificates up so that it pulls through the attendee’s name and the date automatically when the attendee clicks on the certificate URL.
When you first click on the certificate URL, it will take you to a security page.
You fill in the details, click submit, and then it takes you to the actual certificate.
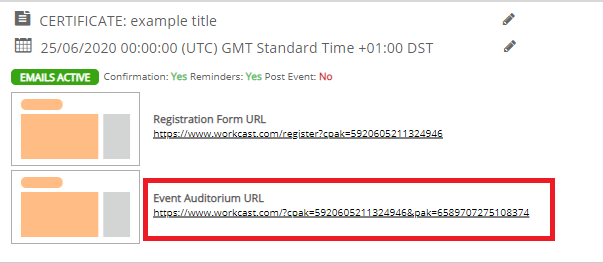
Then, the link that you would class as the certificate is the Event Auditorium URL
Distributing certificates
There are a couple of different options on how you can distribute the certificate, please see the options below.
Resources
You can add the certificate URL directly into the resources tab of your event.
To do this, you need to ensure you have copied the certificate URL as per the instructions within the create certificate section.
Navigate into the event that you want to add the certificate to, go to Session Setup & Studio Access. Click into the Features tab, and go down to Resources and click Add link.

You would select the link, and you would then paste your URL into there, and then add a title. Usual titles would be "CERTIFICATE" or something similar.
NOTE: There is a 99 character limit on the title, so if you believe it is longer than that. Then put "CERTIFICATE" in the title, and then the actual title of the event within the description part.

Remember to click Save. You will then get the green save bar at the top which you need to press, and then select Publish draft.
This would then display on your event page under the resources tab and would appear at all times.
Graded Polls
If you would like a certificate to only be available through the correct answering of polls, then we recommend using our graded polls.
Email Distribution
If you would like to send the certificate out via email to those who attended the live event, you can add the certificate url into your email content