Please note: .csv file can accommodate a maximum of 500 registrants. If you need to upload more than 500, please split them into multiple files.
Overview
Bulk uploads are available with Business, Business Pro and Enterprise plans. They must be done by the named plan user on your account.
To ensure your data is compliant, WorkCast cannot assist with the uploading of these files, but we can give as much guidance as needed on how to upload them.
In order to carry out a bulk upload, you will need to ensure you have a producer log in for your account, if you do not have one of those, please reach out to your Account Manager to request access for your account/discuss further.
Bulk uploads are done at the session level and once you have uploaded a registration it behaves in exactly the same way as a registration created by any other format. As such, bulk uploads will join the same workflow as registrations, sending out a details/confirmation email straight away and also dispatching reminders emails as configured (as long as emails are activated)
Upload format
Registrations should be uploaded as a .CSV file into the platform and should follow the same format as the registration report downloaded from the platform. Please note the screenshot below, for correct formatting (case sensitive).

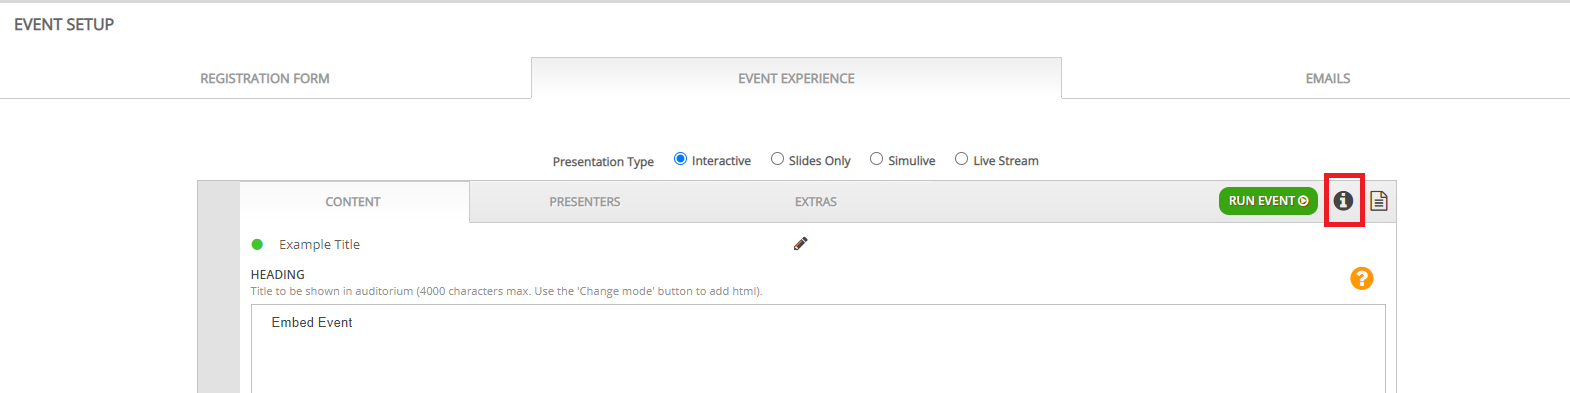
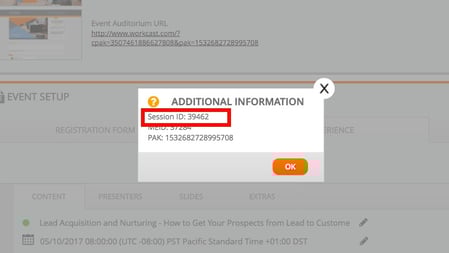
A WebcastEventId and Email must be included with the registration upload for it to be successful. This lets the platform know which event to assign the registration against. The WebcastEventID is known as the Event Session ID within the platform and can be found by navigating to your event, and within the Event Experience tab, locate your session and click the information icon.
All the standard WorkCast registration fields can be uploaded.
- First Name
- Last Name
- Email*
- Phone
- Job Title
- Company
- Country
In order for a registration to be valid, an email address is required, all other fields are optional. However, if you are using the Ask a Question or Chat functionality, you must also include First name and Last name within those bulk uploads.
Another field you can add if your template is set up to allow it is AccessCode. You would add this as a field if you have access code as the access model on your template, and that you want users to have certain codes that you are deciding on, rather than randomly generated codes from the platform.
It is important to note that the headings, must match the report headings on the platform. For example, First name, must be FirstName, etc.
Uploading your registrations
Once you have created your .CSV file you can upload your registrations.
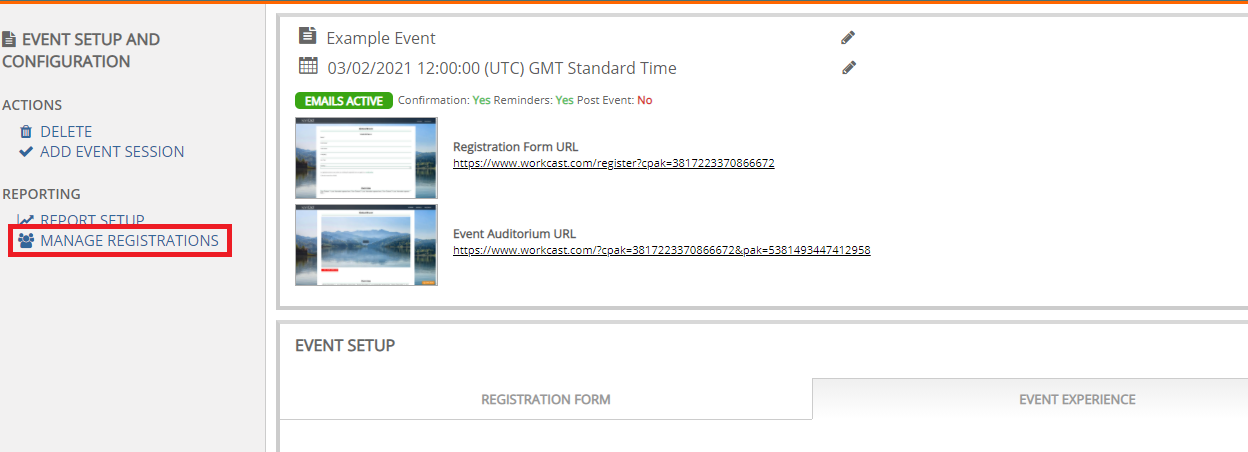
Within the Event Session Setup menu, you will see a Manage Registrations option.
Once you are within the Manage Registrants page, you will be able to see all the users who have access to the event.
From here you can also untick their access so the user is no longer able to gain access to the event auditorium.
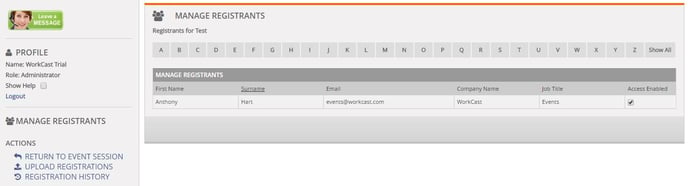
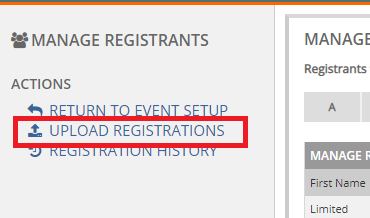
Within the Manage Registrants menu, click on upload registrants
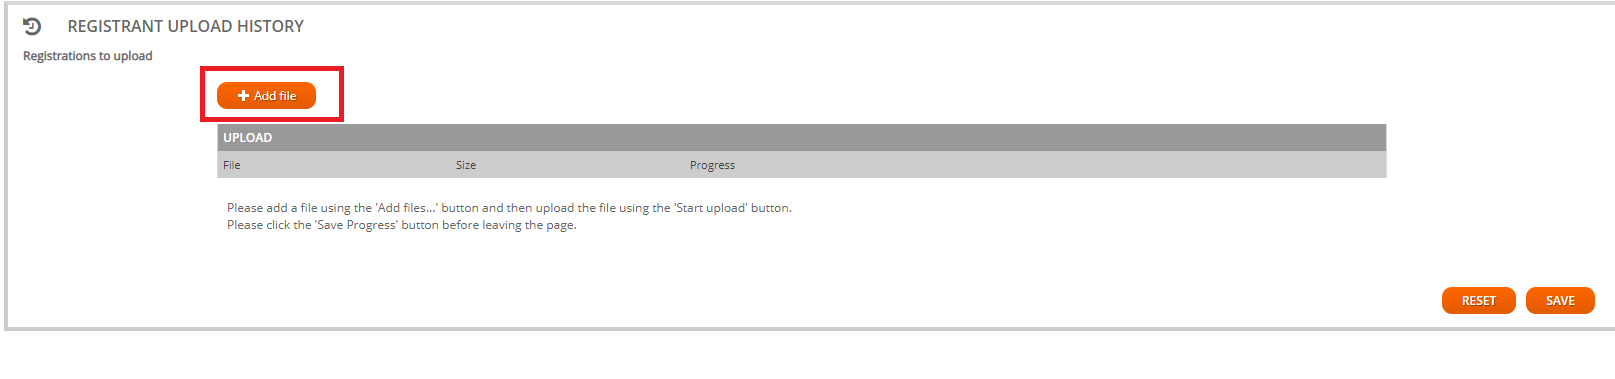
Press Add file (CSV files only)
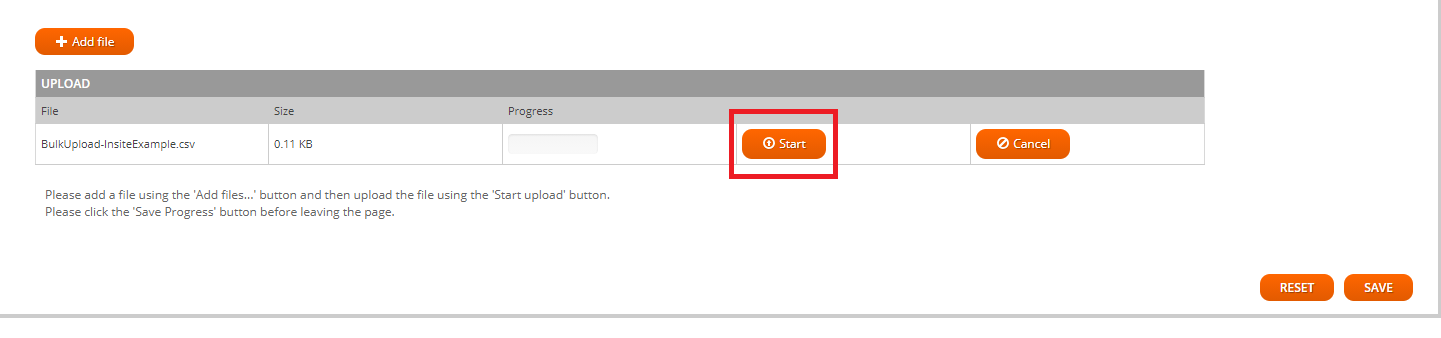
Press Start
It will load and then say complete, you can now press save
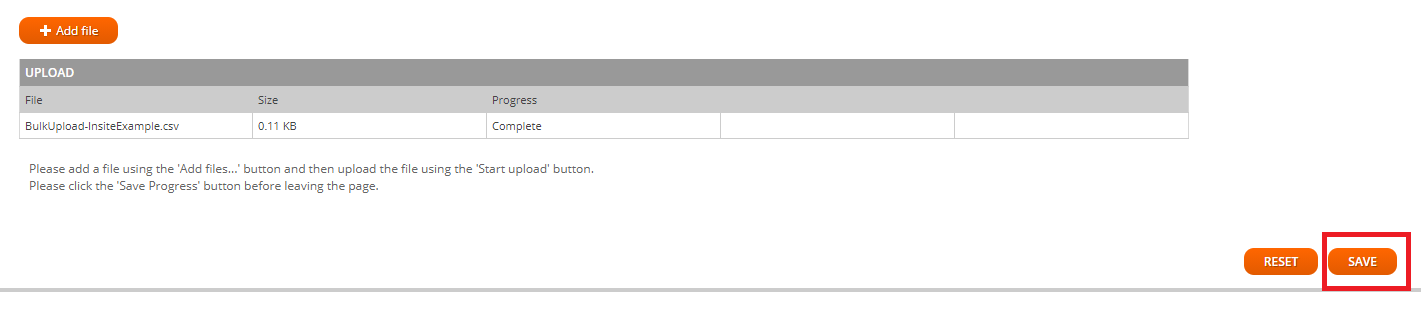
It will confirm that the Registration is saved
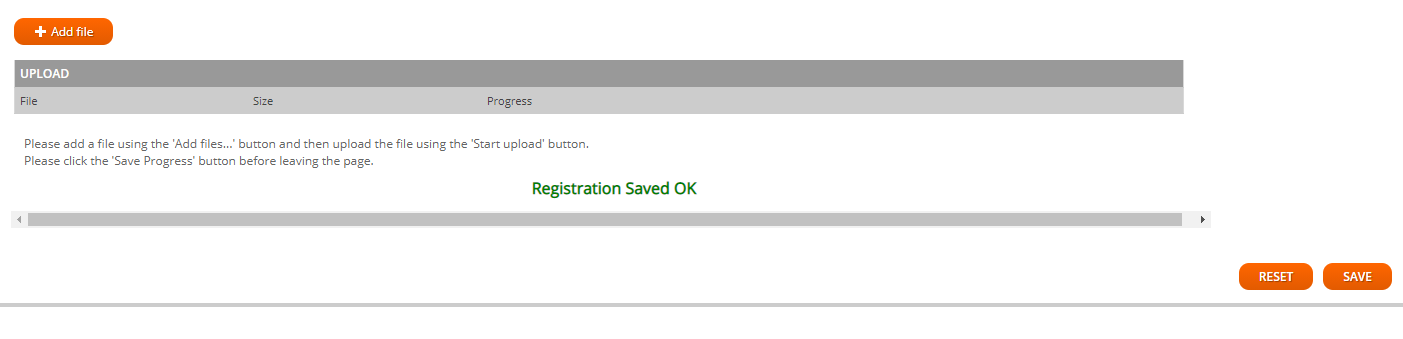
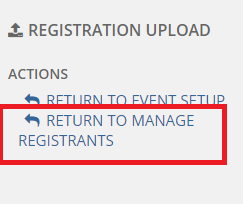
That will now upload, you need to click on to Return to manage registrants
You can now review your upload history by clicking on the Registration History button in the menu.
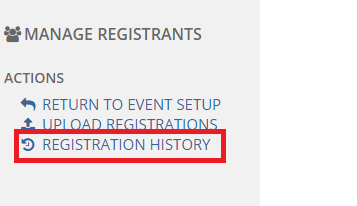
This will show you the status of your bulk upload, whether it is processing/completed/failed. It will also show your previous uploads and their status on the event.

If it has failed, check the document you uploaded, does it follow the guide correctly?
- Is it a CSV file
- Do the column headers match what we advised at the start of the guide
- Have you put the correct WebcastEventId (Session ID)
If you have checked this and it is all correct and it is still failing, please do email support@workcast.com and they will assist you. Please do not send the file over to support@workcast.com as we cannot open this for security reasons.
Please note: it is your responsibility to ensure that the data you are loading to the platform complies with the relevant data protection regulations.
Uploading registrants to an event after the Live event has happened and it is now on-demand
When it comes to bulk uploading for the on-demand event, you do follow the same process of how to upload them. But it is a slightly different process following reasons:
- You need to ensure to update WebcastEventId, as it now needs to be the On-Demand Event Session ID.
You will now see 2 events within Event Experience. You need to click into the one with the green circle as that is the published on-demand.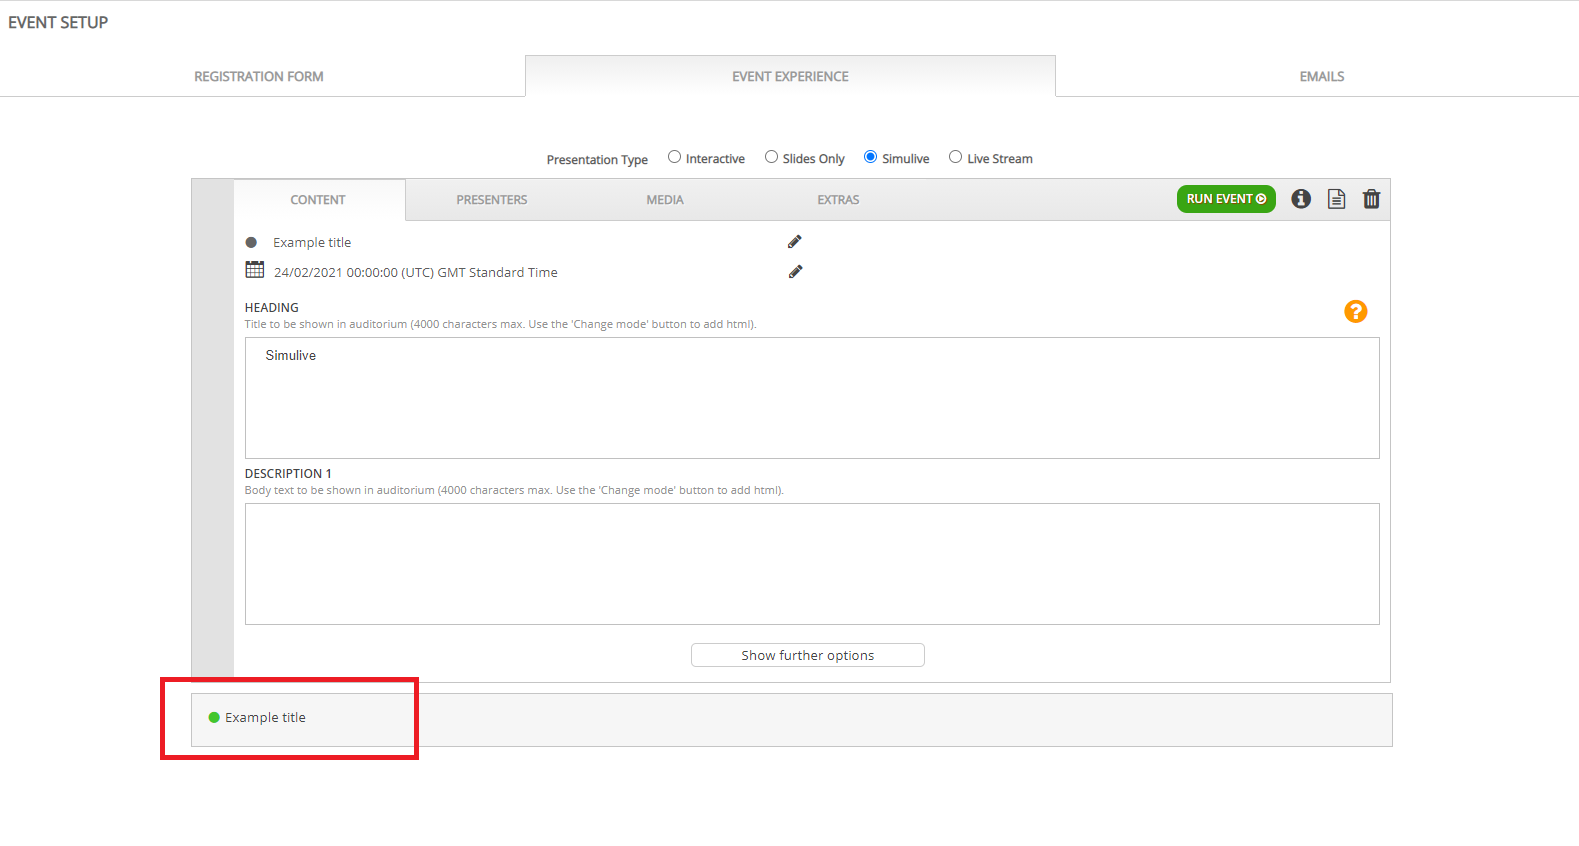
- Once you have clicked into this, you need to click the information icon.
- You now need to add this into your CSV file, under the WebcastEventId column, and follow the same instructions which are stated further up on the rest of your CSV.
- You will want to deactivate the confirmation emails to ensure no confirmation emails go out to the on-demand registrants. However, if you do want them to go out, you can leave those emails activated. For information on how you can deactivate emails, click here
- You now need to move the On-demand session within Event Experience above the Live event.

- Now that all of that has been done, you can upload your new registrants (by following the instructions stated further up the article, as it is the same as if you were uploading for your live event)
- Once the upload is successful, you will need to move your On-demand session below the Live session again.
.png?width=688&name=2020-01-02%20(7).png)