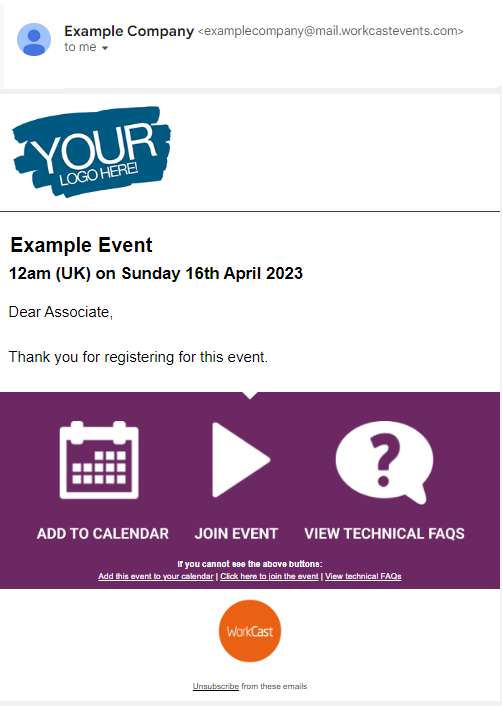
Prior to publishing any changes you make within your event you can preview how this will appear to registrants/attendees. This is available for both the registration page, auditorium page and all event emails.
Quick Links
Preview Registration Form
When changes are made within the Registration form tab of the event you will first see a green bar with a SAVE button.

Once the changes are saved, you will then see this bar change to blue and two options appear. Click the white Preview button to preview how the registration form with display.

Below is an example image of what you will see. Note: The exact look will depend on your template layout.
You can see that there will be a red bar at the top, to show you, you are in preview mode.
The Form content, 'your information will appear here' will only show in the preview pages, and it is showing you where your text will go if you add text into those content boxes.
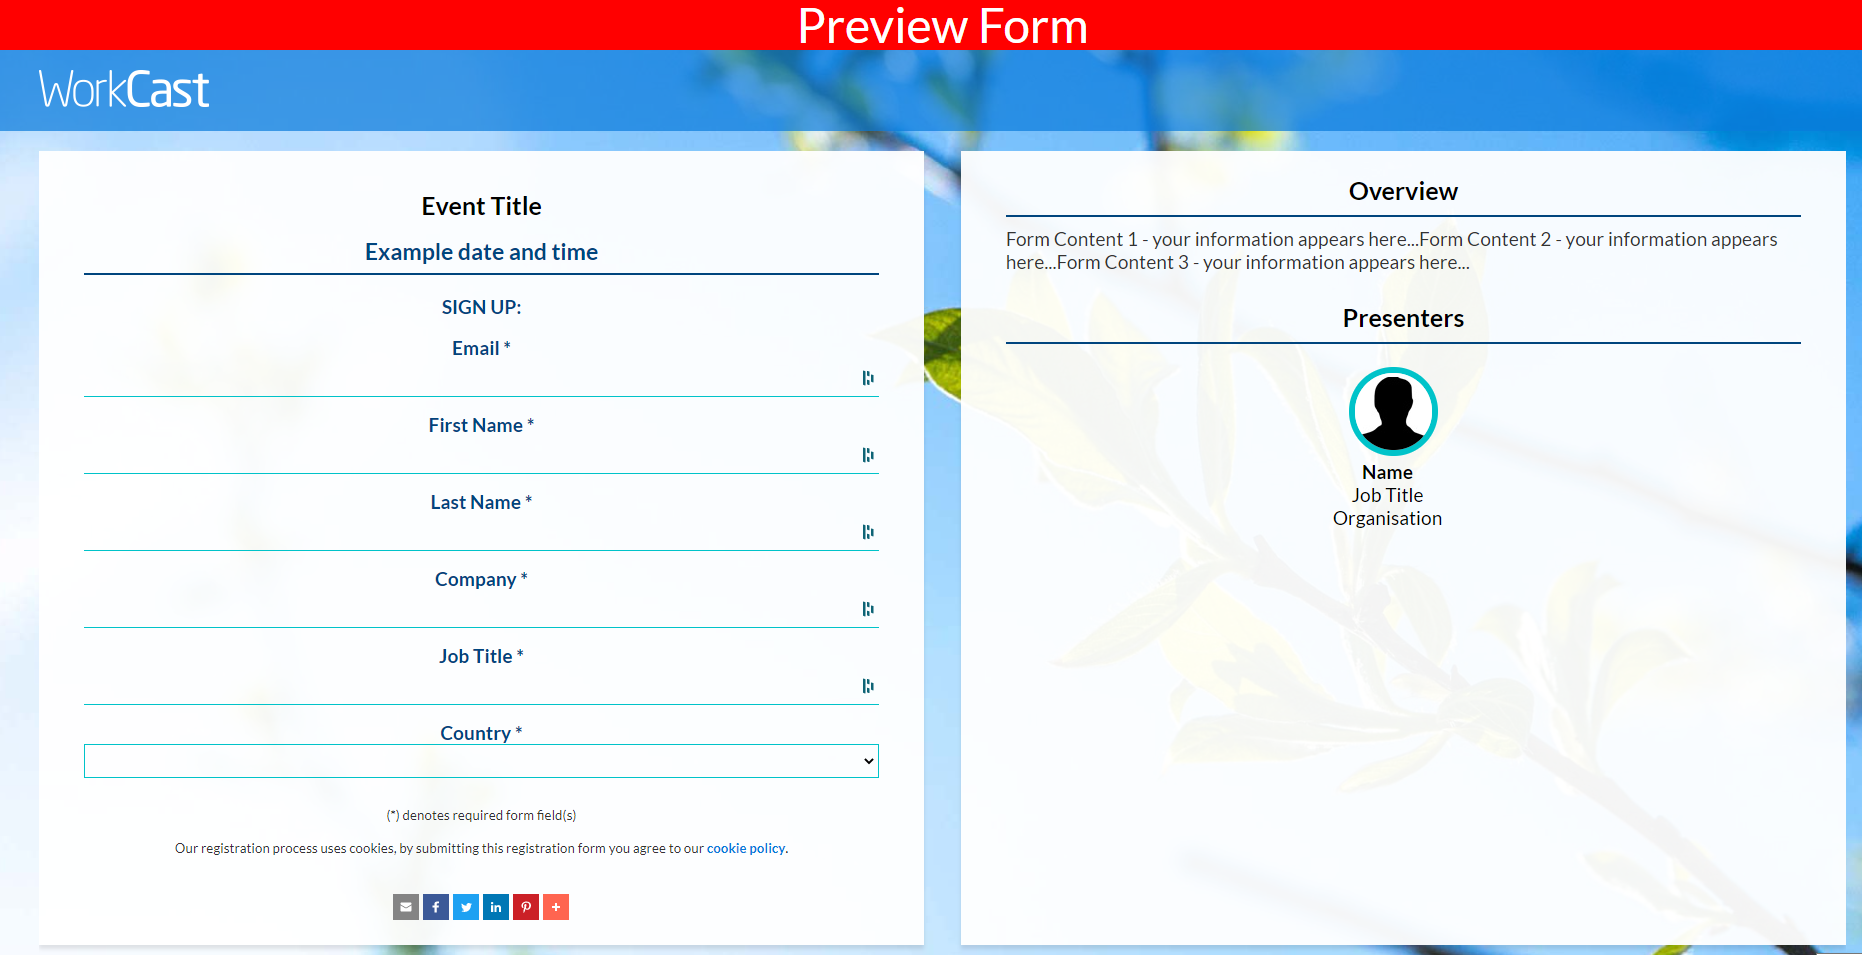
You can preview the form at any point once you've made a change.
Once you are happy with the changes, you can then press publish draft
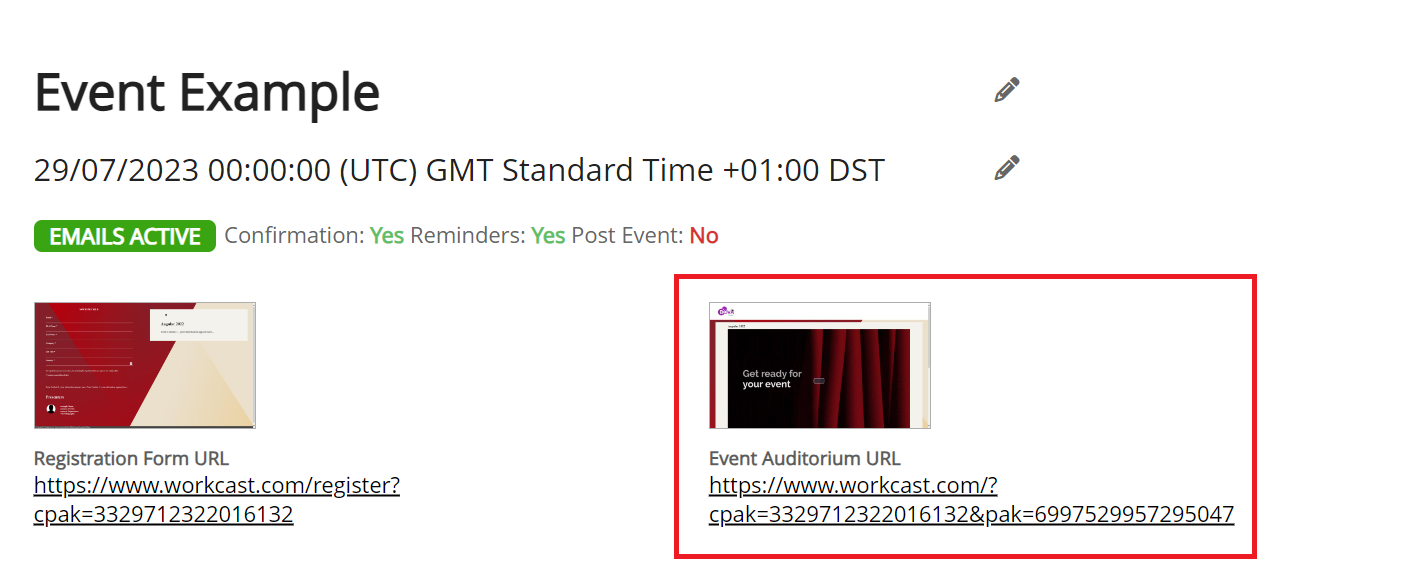
You can then click the Registration Form URL to view the Live registration page. 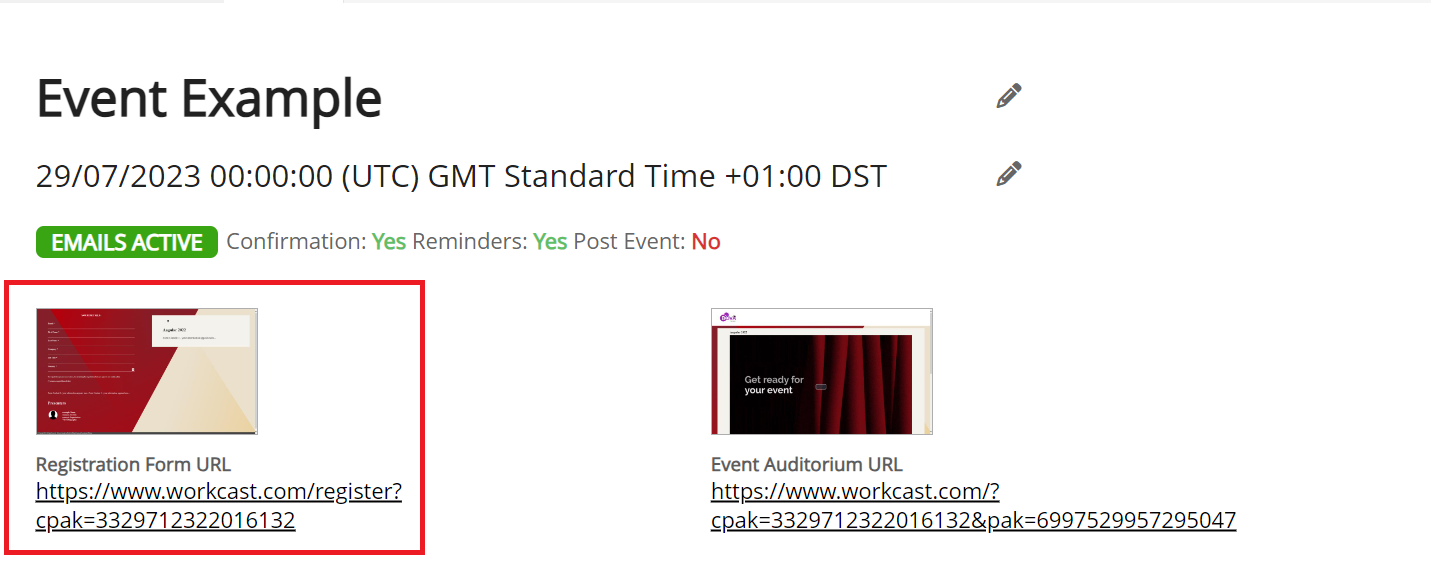
Preview Auditorium
When changes are made within the Session Setup & Studio Access tab of the event you will first see a green bar with a SAVE button.

Once the changes are saved, you will then see this bar change to blue and two options appear. Click the white Preview button to preview how the registration form with display.

Below is an example image of what you will see. Note: The exact look will depend on your template layout.
You can see that there will be a red bar at the top, to show you, you are in preview mode.
The Form content, 'your information will appear here' will only show in the preview pages, and it is showing you where your text will go if you add text into those content boxes.
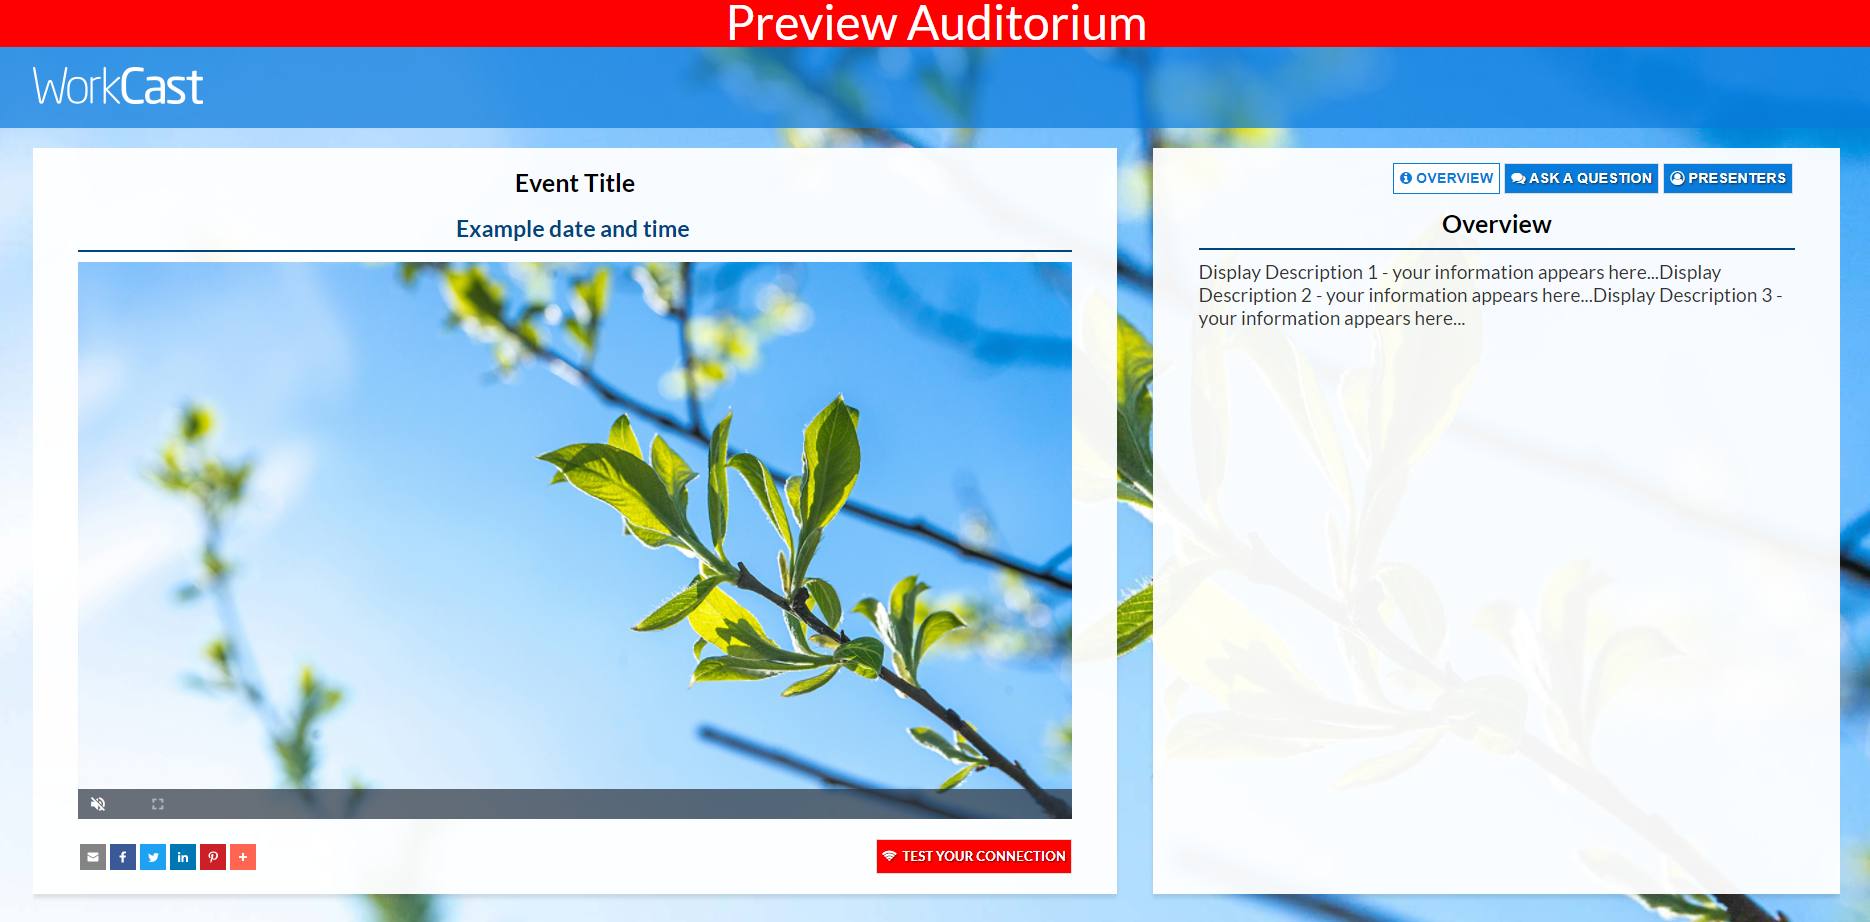
You can preview the form at any point once you've made a change.
Once you are happy with the changes, you can then press publish draft
Preview Emails
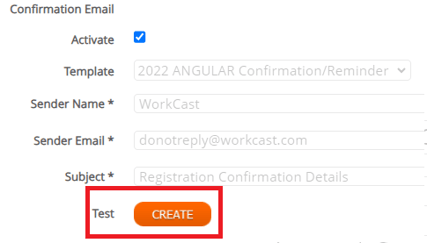
You can preview how your emails will appear to your registrants at any point by accessing the Review attendee emails tab. Within here you will see the four sections, each with the option to send a Test.
This can be found as an orange CREATE button in the confirmation section
or as an envelope icon in the Reminder / Post event email queue sections.

A pop up will appear asking for the email address you'd like to send the test to.
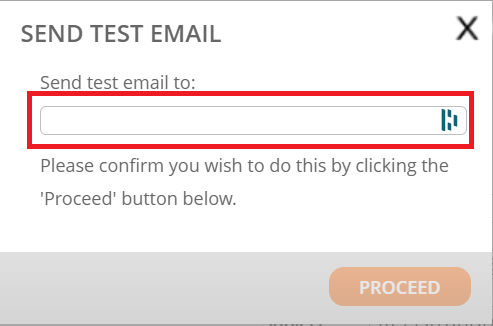
Below is an example image of what you will see. Note: The exact look will depend on your template layout.
Here you can check the sender name, email address, title, date/time, logos and text are correct. Note: Associate will change to the attendee's first name.
You can also check the links work as expected.
