Step 1: Editing the Mini VE Lobby event branding through CSS
- Log into the WorkCast platform
- Click the settings icon located at the top right handside; denoted by a cog symbol
- Select "Administration" from the dropdown menu
- Then select, "Manage Auditoriums"
- Find the row the template name that begins with Mini VE Lobby
- You can access the styling window by selecting the "Styling" icon against the relevant row

Step 2: Make your specific edits
- Background Image
- Font Colour and Size
- Footer Branding
- Navigation Menu Branding
- Carousel Branding
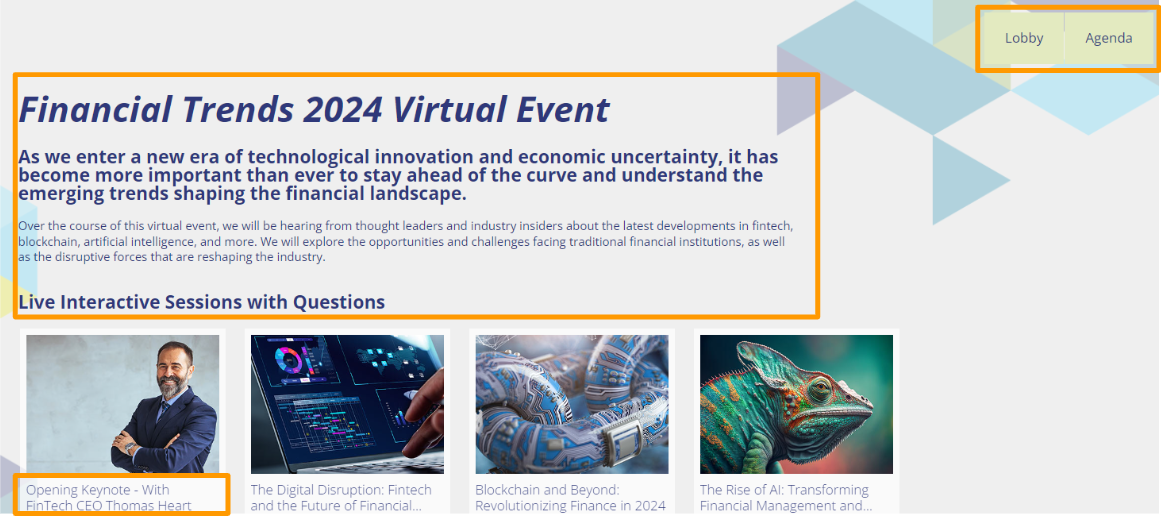
- Editing the main logo
- Add Banner
Changing the background
- Find the body background tag
- Replace the URL with another image URL
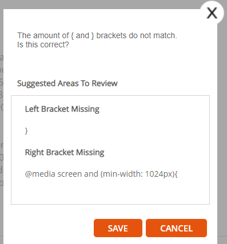
--body-background: url(www.backgroundimage.com) #efefef no-repeat bottom right/cover fixed;
3. Remove the URL so that only the HEX code is displayed for a solid colour
--body-background: #efefef no-repeat bottom right/cover fixed;
4. Click Save
5. Click Save on the pop up
Changing the font color and size - Under header "Root"
--primary-font-color: #HEX CODE;
--paragraph-font-color: #HEX CODE;
-- h1-large-font-size: SIZE;
- Primary Font Color
- Paragraph Font Color

Footer Branding - Under header "Footer Sponsor Bar"
Paste your hex colour where it says HEX CODE
--sponsors-carousel-overlay-background: #HEX CODE
--sponsors-background: #HEX CODE;
- Sponsors carousel overlay background

- Sponsors background

Navigation Menu Branding - Under header "Navigation"
--nav-link-font-color: #HEX CODE;
--nav-item-background-color: #HEX CODE;
--nav-item-background-hover-color: #HEX CODE;
- Nave Item Background
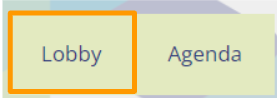
- Nave Item Hover - hover over the navigation tile and it changes colour.
Carousel Branding
--session-carousel-arrow-background: #HEX CODE;
--session-carousel-arrow-color: #HEX CODE;
--event-on-demand-indicator-background: #HEX CODE;
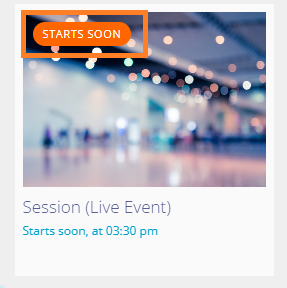
--event-starting-soon-indicator-background: #HEX CODE;
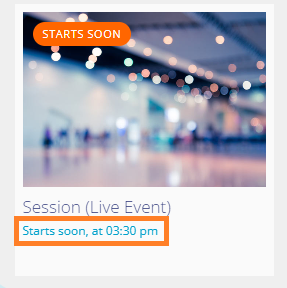
--event-start-context: #HEX CODE;
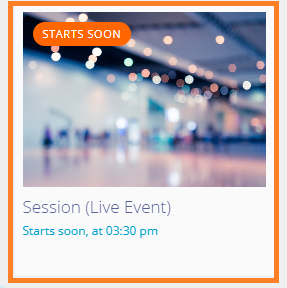
--tile-background-color: RGB / percentage transparency
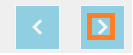
- Session Carousel Arrow Background
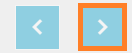
- Session Carousel Arrow Color
- Event On Demand Indicator Background

- Event Starting Soon Indicator Background
- Event Start Context
- Tile Background Colour
Swapping your logo
The account default logo will pull through to your event as standard. To replace the logo:
- Open your event in Creator
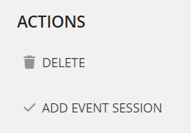
- Add Event Session
- Select Footer Sponsor logo
- Click Session Setup & Studio Access
- Change the title of the new session to Main Logo
- Go to the session Extra Tab
- Go to Thumbnail Image
- Select Choose > Choose Image
- Click Upload
- You should see the logo populate in the thumbnail image square
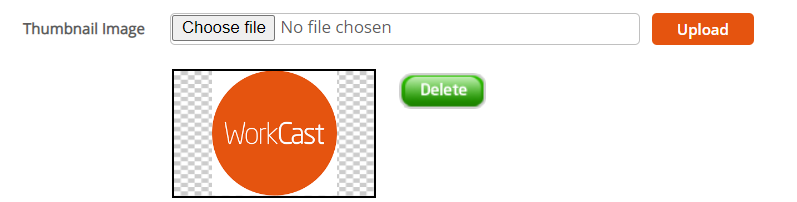
- You should see the logo populate in the thumbnail image square
- Go to Filters tab
- In the Add New Filter bar type: Event Logo
- Click Create

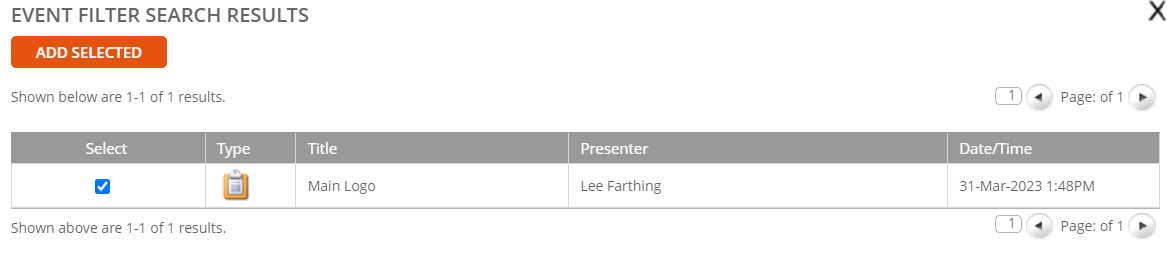
- Go to the new filter you have created and click the plus button > click search

- Click the select checkbox next to the Main Logo session > click "add selected"
- Scroll to the top and click "refresh filter change"
- This can take up to 15 minutes to work but once it has been refreshed it will show the new logo on the lobby, agenda and session page.
- To change the registration page logo please follow the instructions here.
Add a Banner
- Go to "session set up & studio access"
- Go to the "tell attendees about your event in less than 4000 characters" section
- Click change mode

- Paste this code in and replace the highlighted text with your banner mp4 link.
<img alt="Banner" src="add your image URL here" style="width: 100%;">