Step 1: Editing the Mini VE Registration Page branding through the HTML Header
- Log into the WorkCast platform
- Open the specific event
- Click "Session Setup & Studio Access"
- Select "Lobby" session
- Click "Extra" tab
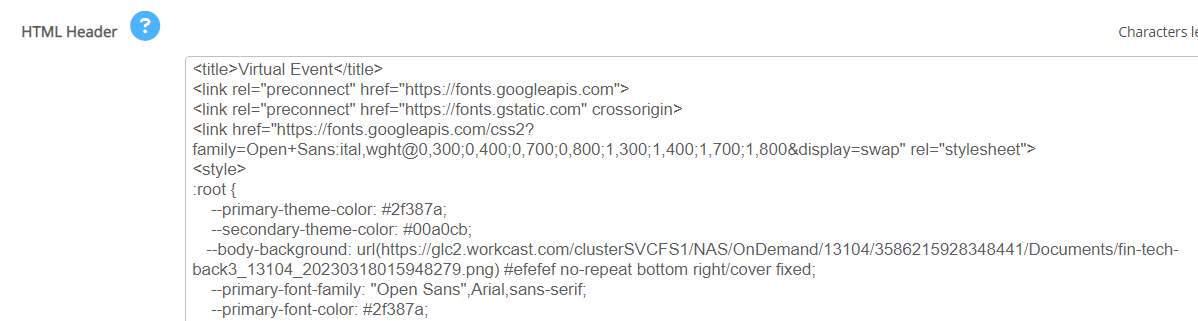
- Here you will find the HTML Header section where you can edit the branding of the registration page.
It is important to note that any time you make an edit you must click outside of the HTML header box so that the Save bar appears.
- Click save

- Click publish draft

- Click Yes
Step 2: Make your specific edits
- Background
- Overview Box Background
- Primary and Secondary Theme
- Font Color and Size
- Adding a secondary logo
Changing the background
- Find the body background tag
- Replace the URL with another image URL
--body-background: url(www.backgroundimage.com) #efefef no-repeat bottom right/cover fixed;
3. Remove the URL so that only the HEX code is displayed for a solid colour
--body-background: #efefef no-repeat bottom right/cover fixed;
Change the overview box background colour
--reg-background: #HEX CODE;
Changing the primary and secondary theme
--primary-theme-color: #HEX CODE;
--secondary-theme-color: #HEX CODE;
- Primary Theme Color (lines under the registration fields)
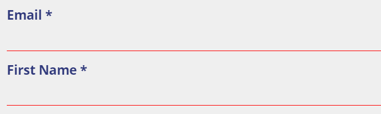
- Secondary Theme Color (register button)

Changing the font color and size - Under header "Root"
--primary-font-color: #HEX CODE;;
--paragraph-font-color: #HEX CODE;;
--secondary-paragraph-font-color: #HEX CODE;;
--presenter-name-font-color: #HEX CODE;;
--presenter-text-font-color: #HEX CODE;;
- Primary Font Color
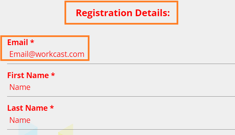
- Paragraph Font Color (Thank you for registering page)

- Secondary Paragraph Font Color
- Presenter name font color

- Presenter text font color

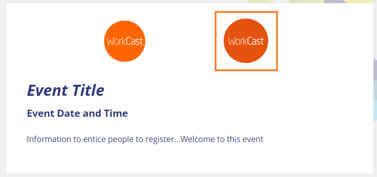
Adding a secondary logo
- Open the specific event
- Click "Session Setup & Studio Access"
- Select "Lobby" session
- Click "Features" tab
- Go to "Additional Logo"
- Add logo
- Save and Publish
- The second logo will appear here