Please note: before starting, you must have an event created within your WorkCast Account that has slides or media attached.
If you have a Business Pro plan you must ensure you add your domain where the embed code is being placed in your account.
To do this, you need to:
- Log into your account with your producer profile
- Click into the cog on the right-hand side
- A drop-down list will appear, please click Administration
- You will then see Manage Domains, please click into this.
- Add your domain as per the example below
Example:
Your Website Domain: https://www.workcast.com - You add www.workcast.com
Your Website Domain: https://myevents.workcast.com - You add myevents.workcast.com
Important: Please add exactly as per the examples, you do not need to add http:// or https:// as part of your domain.
For host users, please email support@workcast.com with your domain and we will add it to your account.
Adding the Webinar Embed Code
Business and Business Pro plans
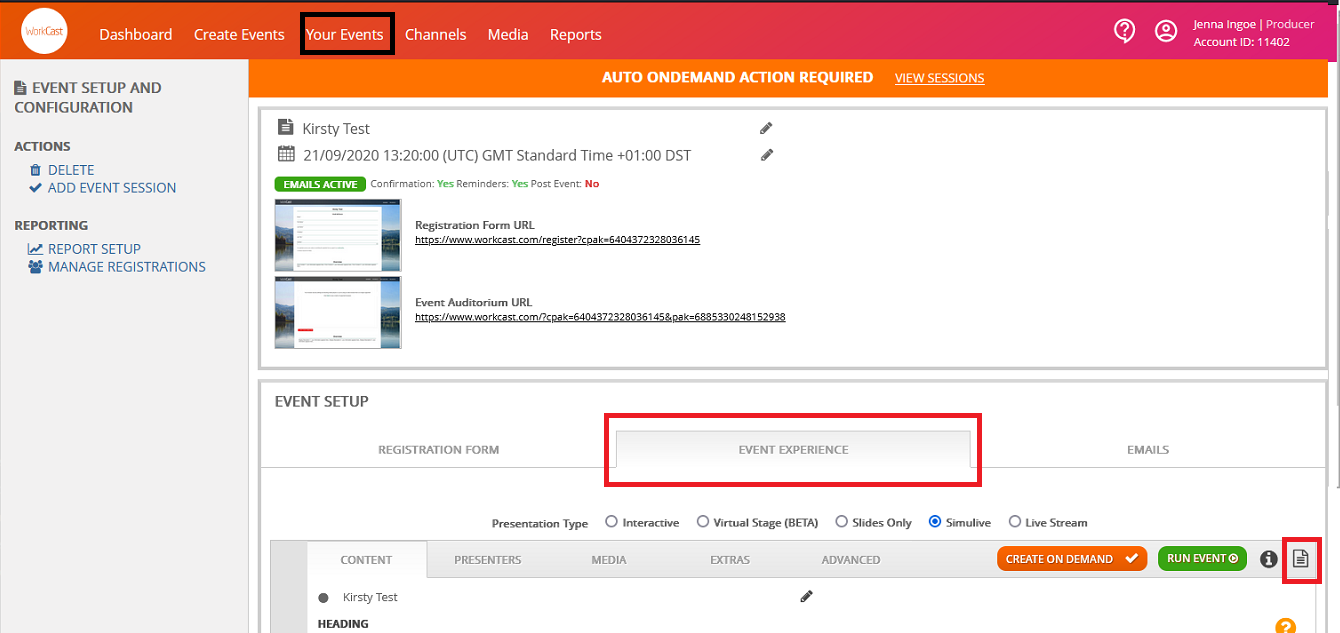
1. As a Host or Producer user, first, log in to your WorkCast Account and navigate to the Events tab.
Locate the event you wish to embed within your website and click on it.
2. Head down to the Event Setup section and click on Event Experience.
Look to the right of the section and you will see a Document Icon.
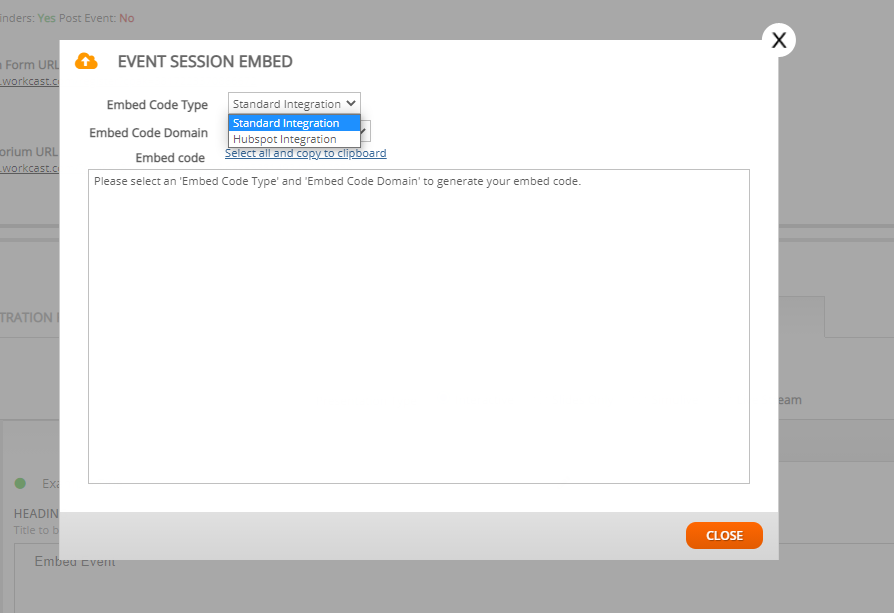
3. You will see a popup, titled Event Session Embed.
Within this popup, first selected your Embed Code Type from the dropdown list, which will be either Standard Integration or the Marketing Automation Integration program you have defined beforehand (i.e. HubSpot).
4. Next, select your Embed Code Domain and choose the domain you wish to embed on from the dropdown list.
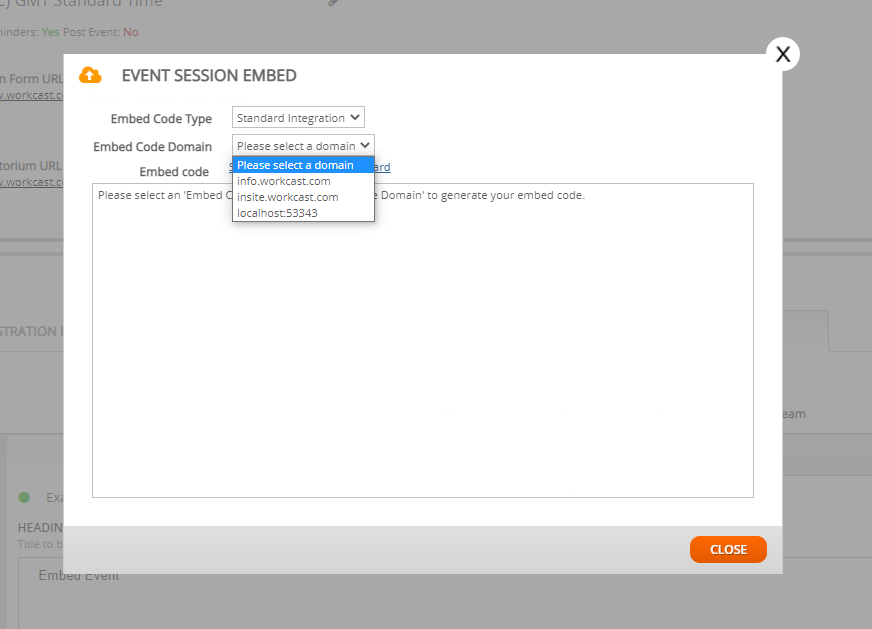
Please note, if no options appear in this list, please send a request to support@workcast.com with your required website domain address where you want the event to be placed.
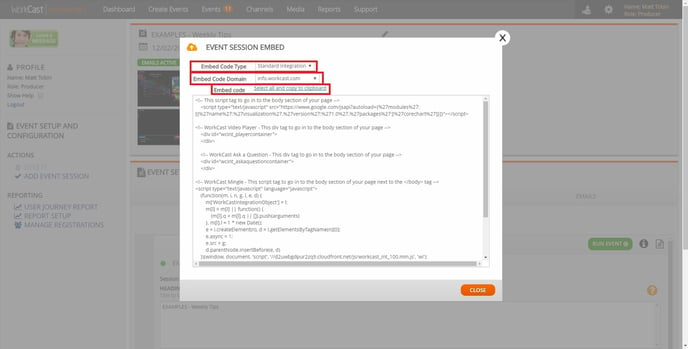
5. Once you have chosen these two options, the Embed Code HTML will generate in the text box below.
Click the Select all and copy to clipboard option and paste this into the section of your website you wish to embed your event.
Your event should then appear within your website on the page you want!
6. If you want to obtain attendance reporting information for your embedded event and you're using Standard Integration, you need to ensure this section of the embed code:
wi('email', '{Attendee Email Address}');
is populating the attendee's email addresses.
To do this, you will need to generate a tag that will pull across the viewers' emails, showing that they attended your event on your website, and insert this into the code on the website page you're embedding your event.
This is because you're hosting it on your page and not a WorkCast-generated auditorium.
Please note, if you chose HubSpot Integration, this will be done automatically. Therefore, you don't need to generate a tag.
Notes:
- Polls will appear as normal for Live and Simulive embed events, but currently do not appear for on-demand embedded events.
- Your embed code does not change when an event goes from Live to On-Demand, so you do not need to make any changes once an event has happened.
Using with the WorkCast embed code with React?
View our example of how to use our embed code with React.