- Locate your webinar Library
- Edit Webinar Library Lobby page
- Add an event to your Webinar Library.
- Remove an event from your library
- Edit Filter/Category names.
Locate your webinar Library
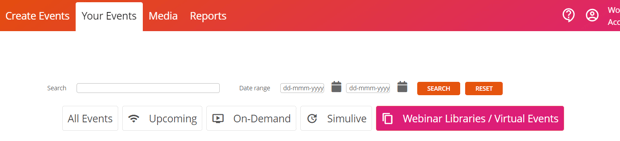
Log into your account and navigate to the ‘Your Events Tab’.
Select the ‘Webinar Libraries/ Virtual events’ option to filter to these types of events.
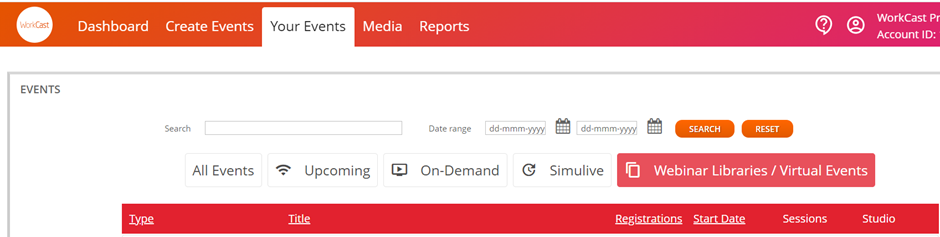
You will now see a list of the Webinar Library’s available within your account (Note: these may previously have been named Channel) Click into the Webinar Library you’d like to edit.
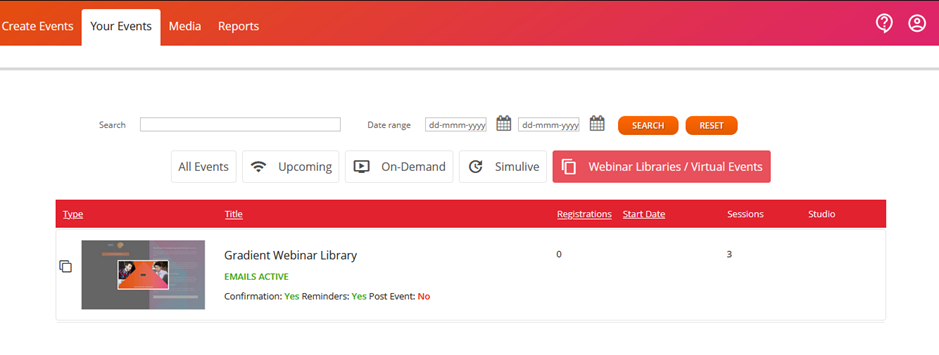
The event will then open up to appear similar to a standard event with the first session open and editable.
Edit Webinar Library Lobby page
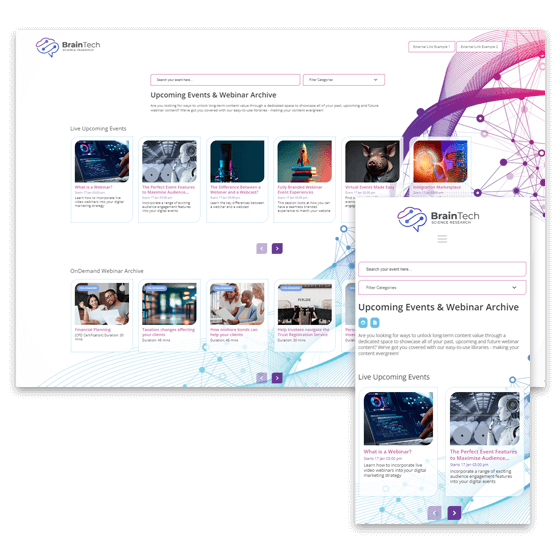
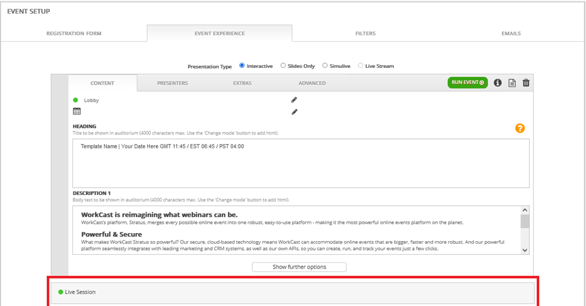
A ‘Webinar Library lobby’ is the auditorium page. This is the page where you can direct your attendee’s to select from the events you have available. Example below:
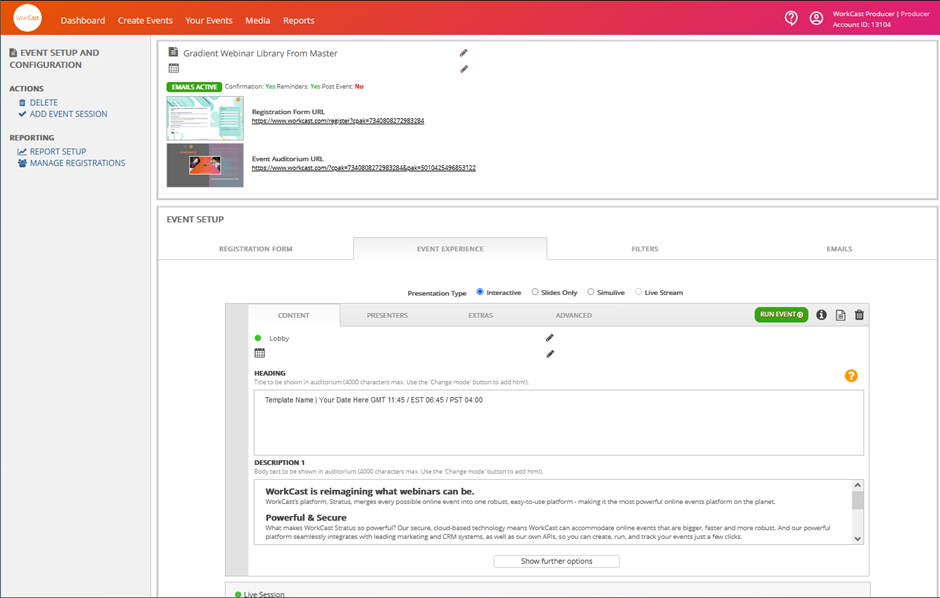
To edit this page you would edit the top session in the Event Experience tab titled ‘Lobby’
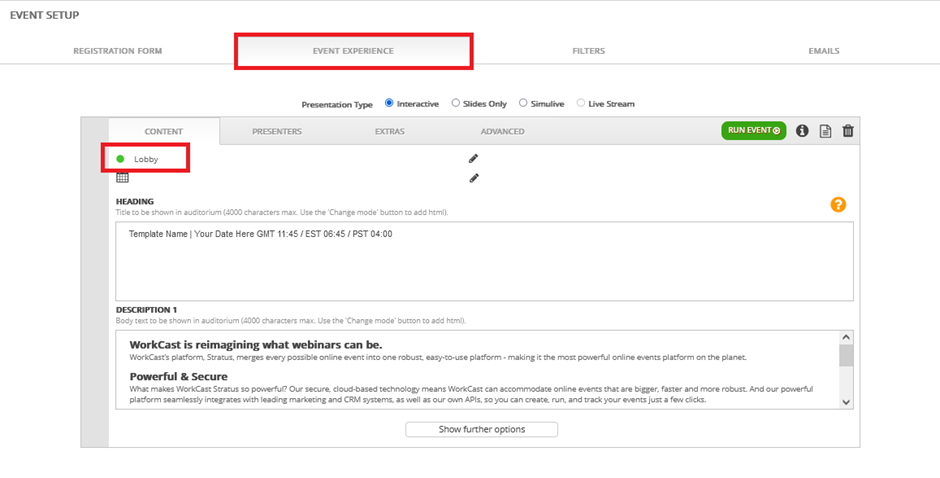
Like a standard event, you can edit the content, presenters (If needed) the resources, sponsor logo etc.
Now your changes are made to your webinar library you need to complete a refresh to make these available to your audience. To do this to the top of the Filters tab click the ‘Refresh Filter changes’

This refresh can take 15 minutes to complete. If you do not see the changes on your webinar lobby/auditorium after this time, try opening the webinar library URL into a new incognito window, or an alternative browser as you may be cached.
Add an event to your Webinar Library.
Once you’ve created your event within your account you can make this available to your attendees from your Webinar Library. To do this, within your Webinar Library you will need to create a ‘Dummy session’ (fake session) which will then link to the registration page of your actual event.
What you will need:
-
The Event title / Date and Time.
-
The event registration page URL.
Steps:
- Locate you event in the Your Events tab and open the Registration page URL in a new tab.
- Return to your account, Your events tab and locate your Webinar Library. (You can filter your events using the Webinar Library /Virtual Event filer or search by name)
-
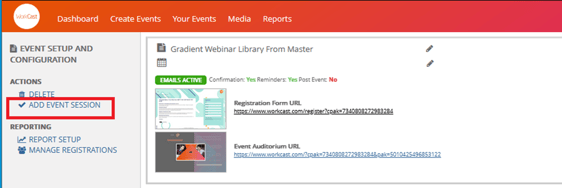
In your Webinar Library, click ‘Add event session’ from the left menu
-
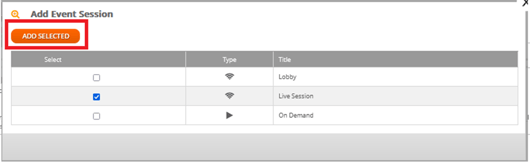
A pop up window will appear, check the box next to ‘Live Session’ or ‘On Demand’ (It doesn’t matter which as this will be only be a place holder ‘Dummy session’)
-
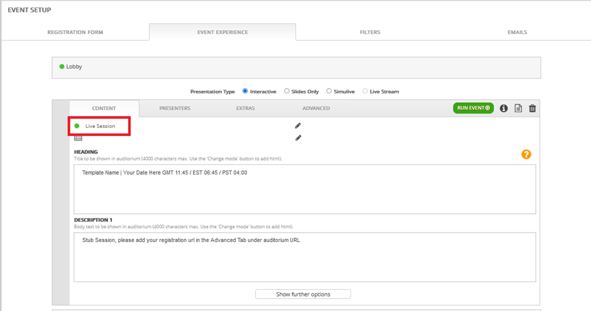
The newly added session can then be found to the bottom of the session list within event experience and will be titled ‘Live Session’ or ‘On Demand’. Click the tile so this opens out into an editable state.
-
In the ‘Content tab’ click the ‘Live Session’ text and change this to your event title.
-
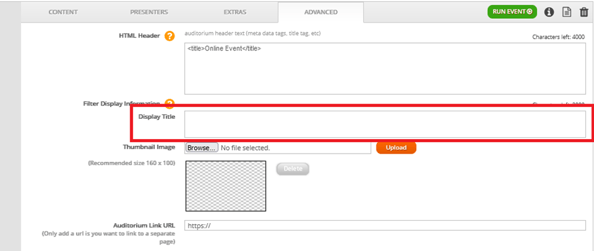
Click into ‘Advanced tab.’ Edit the ‘Display title’ with the Date and Time of your event as you’d like your attendees to see it. I.e 13 October 2022, at 12:00. If event is On Demand you can also type this here.
-
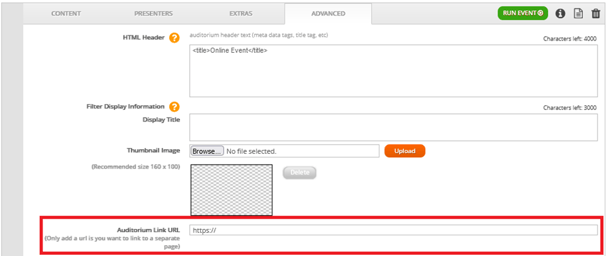
Add your Event registration URL to the ‘Auditorium Link URL’ text box. (Note: it is best to open the registration page in your browser and copy the URL from here to ensure it is correct)
-
If your Webinar Library allows for customised thumbnail images to show in your Webinar Library Lobby you can add this by clicking the browse option and selecting the image you’d like to upload from your device. Once selected click the ‘Upload’ button to the left of Thumbnail image. (Please note the size of the Jpeg/Png should be 160px X 100px)
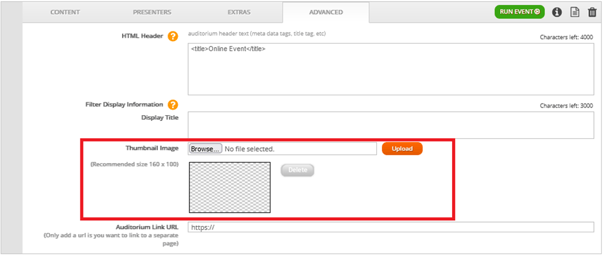
Please note: We do not recommend using images with text as the image optimises to fix the screen it is being viewed upon. If you do chose to add a Thumbnail image with text, you may need to adjust the size so the text remains in view.
To make the event available on the published Webinar Library lobby (Auditorium) you now need to place it within a filter.
-
Click into the Filters tab.
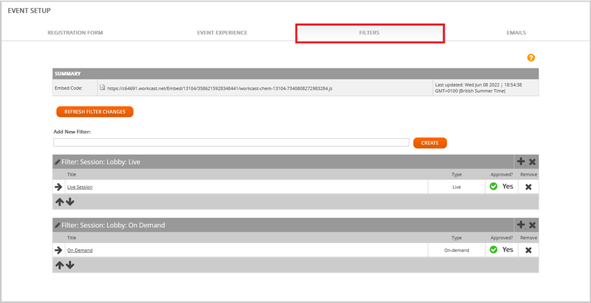
(In here you will see the filters or categories you have available within your webinar library)
-
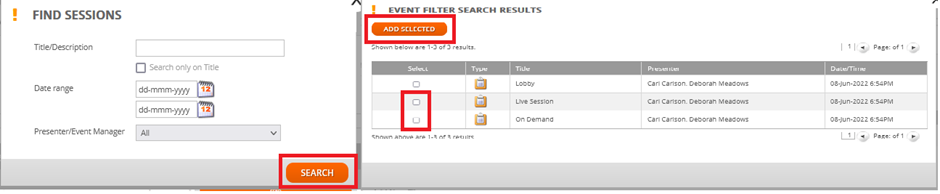
To add a session to a chosen filter click the + to the right of the filter name. You will then see a pop up to appear to search for the session. Click ‘Search’. Another pop up with replace this with all available sessions within your Webinar Library event experience tab. Select the check box to the left of the session you’d like to add to the filter and finally click ‘Add selected.’

 Now your session is added to your webinar library you need to complete a refresh to make these changes available to your audience. To do this to the top of the Filters tab click the ‘Refresh Filter changes’
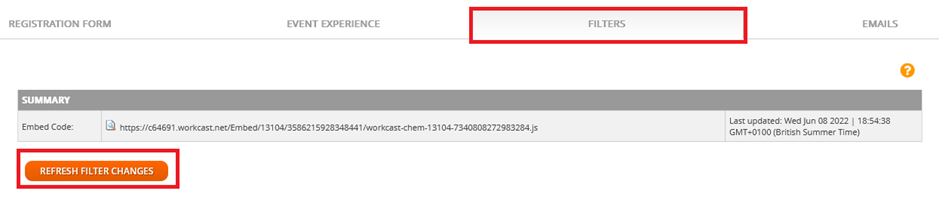
This refresh can take 15 minutes to complete. If you do not see the changes on your webinar lobby/auditorium after this time, try opening the webinar library URL into a new incognito window, or an alternative browser as you may be cached.
Remove an event from your library
To remove a session from your Webinar Library Auditorium/Lobby navigate to the Filters tab, locate the session you wish to remove from attendee view and click the X to the left of the session.
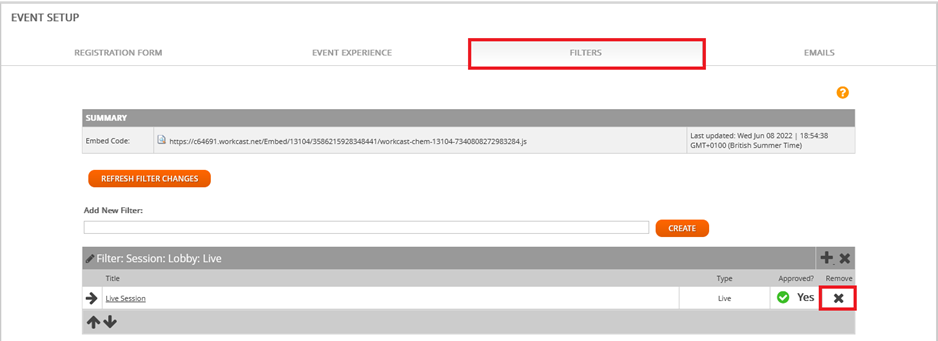
Now your session is removed from the filter/category you need to complete a refresh to make these changes available to your audience. To do this to the top of the Filters tab click the ‘Refresh Filter changes’

This refresh can take 15 minutes to complete. If you do not see the changes on your webinar lobby/auditorium after this time, try opening the webinar library URL into a new incognito window, or an alternative browser as you may be cached.
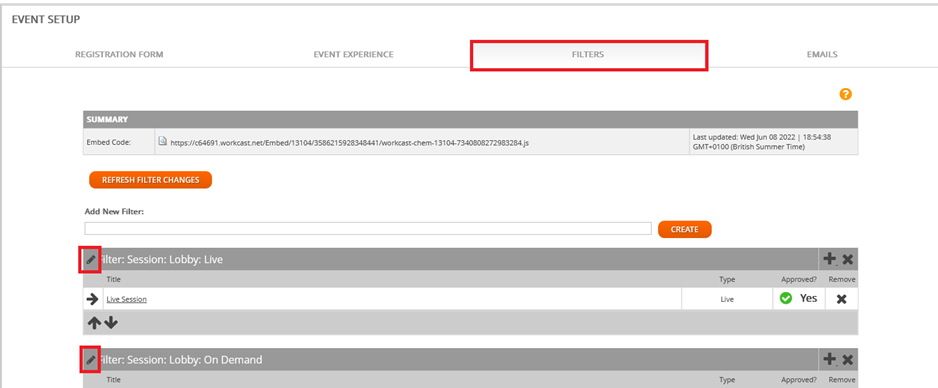
Edit Filter/Category names.
To edit the Filter/Category name click on the Pencil icon to the left of the filter name. This will then become editable.
In order for the Filter apply on your Lobby page you must ensure the filter name begins with Sessions: Lobby:
I.e If the filter is to be named Live Event the name of the filter would be.
Sessions: Lobby: Live Event
Once you’d updated click ‘Save’
Now you’ve updated the filter/category name you need to complete a refresh to make these changes available to your audience. To do this to the top of the Filters tab click the ‘Refresh Filter changes’

This refresh can take 15 minutes to complete. If you do not see the changes on your webinar lobby/auditorium after this time, try opening the webinar library URL into a new incognito window, or an alternative browser as you may be cached.