The purpose of this guide is to show you how easily you can brand your very own WorkCast template with just 3 key items. We will show you how you can access your template to change the overall look and feel of the template through the use of colours and background imagery or solid coloured backgrounds.
Please make sure you follow the steps to log into your WorkCast account and access your event in the ‘Your Events’ tab and go to the ‘Advanced’ tab within your Event Experience.
All templates can be changed completely within the ‘Quick Edit Guide’ section.
Happy Branding!
First Steps: Accessing your event
1. Log into your WorkCast Account as a Producer
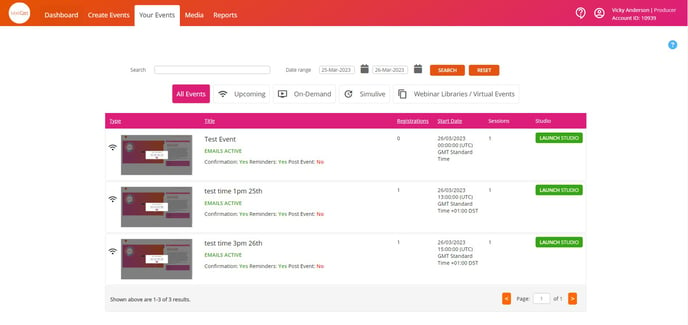
2. Click on Your Events to view your events
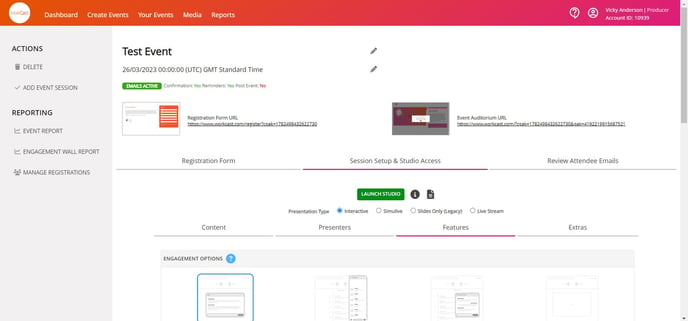
3. Find and click on the event you wish to update…
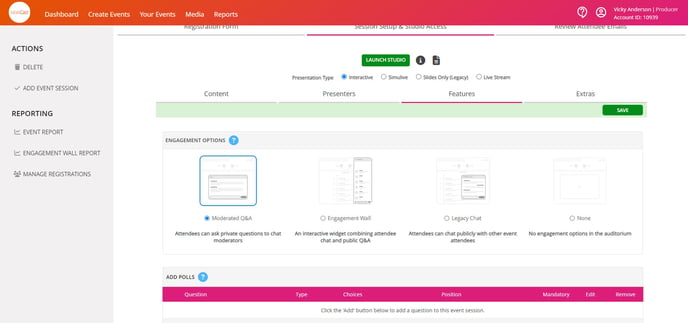
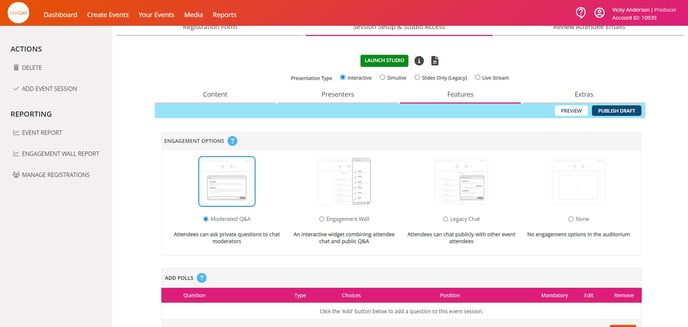
4. Click into Session Setup & Studio Access and Extras
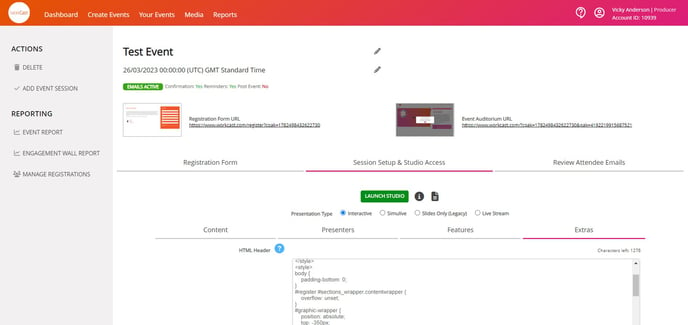
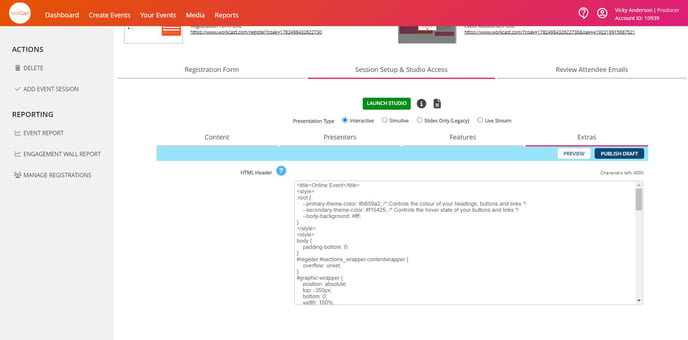
5. Navigate to the HTML Header section
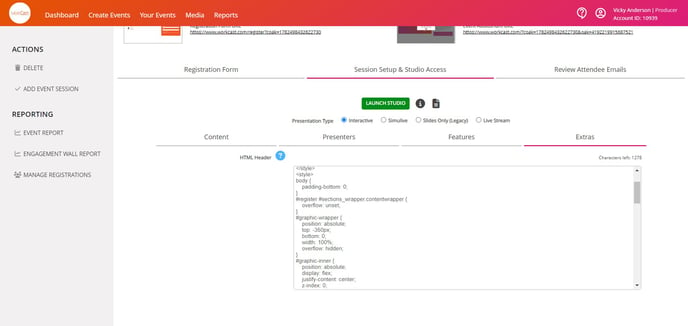
Quick Edit Guide:
As standard, the below coding is added within your event template. These are the 3 easiest ways you can change the overall look and feel of your event experience.
|
:root { --primary-theme-color: [Primary Theme Colour Here]; --secondary-theme-color: [Secondary Theme Colour Here]; --body-background: [Body Background Here]; } |
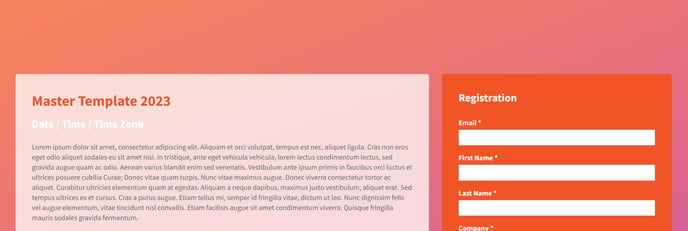
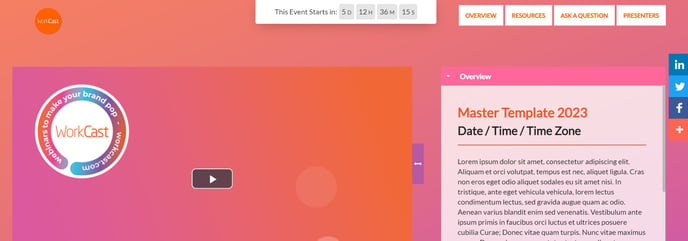
As you can see, the template is broken up into theme colours and a background of your choosing.
- The Primary Theme Colour is used for branding Headings, Links, Buttons and Icons.
- The Secondary Theme Colour is used for the hover states of elements such as: Links, Buttons and Icons.
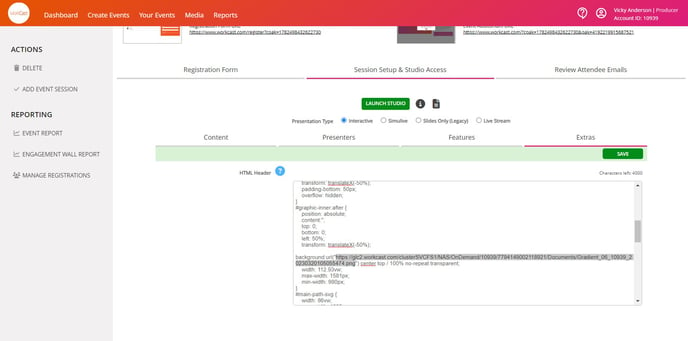
- The Body Background can either be a solid colour, a gradient or a background image which uses a URL. For more information on how to get an image URL from the platform please refer to Uploading an Image into the Platform.
Code codes where available to be HEX or RGB
Background images to be as large as possible (recommended minimum size of 2100px by 1000px)
You may already have brand guidelines which dictate your main colours, however should you wish to choose a new colour, you can use this colour generator here: https://www.w3schools.com/colors/colors_picker.asp
Simply find the colour value you wish to use, then copy and paste this in replacement of the red values above. You will then be able to ‘Save’ and ‘Publish’ your changes which will then come through to your event.
With our templates, you have the option of having both a solid colour for your background or an image. This is what you would use to add a solid colour background:
|
:root { --body-background: [Background Colour here]; } |
And for an image background:
|
:root{ --body-background: url("https://myimageurlhere") #465064 no-repeat center center/cover fixed; } |
Uploading an Image Background:
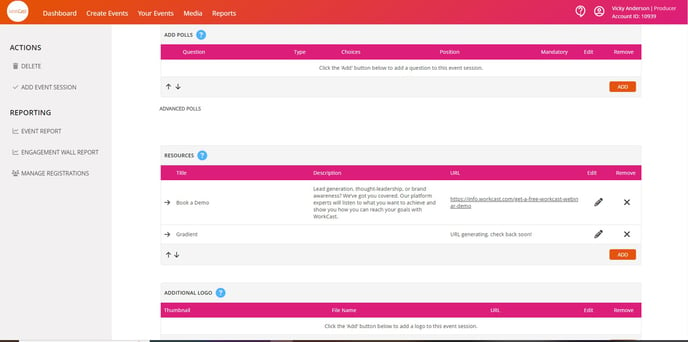
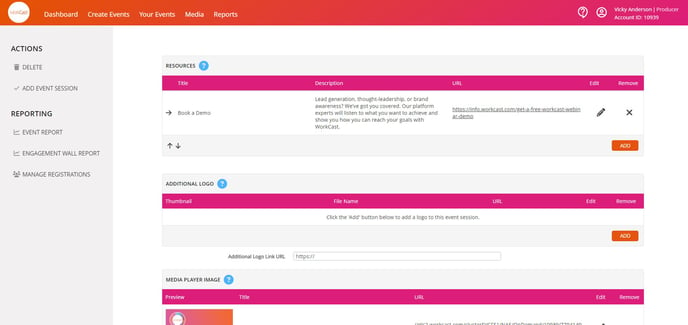
1. In your event, go to the Session Setup & Studio Access section click on Features
2. Scroll down to Resources and click Add
3. Ensure document selected and click Choose File to select the image you want to use as your background from your device
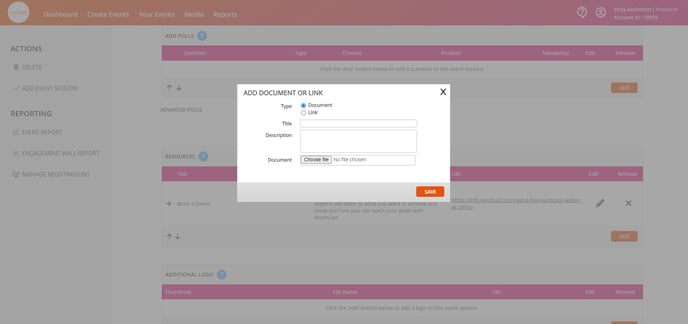
4. Give your file a title and click Save
5. Scroll up the page and click on Save in the main event
6. Once saved, click Preview
7. In the preview window, click on the Resources tab

8. Click on new resource for your background, it will be named after your name you gave it within the platform. Once opened, click on background and copy the URL which has been generated

9. Close the preview window and click back into Extras
10. In the HTML Header section paste the URL you have copied into the background URL and click Save
11. Click Publish Draft and confirm changes by clicking Yes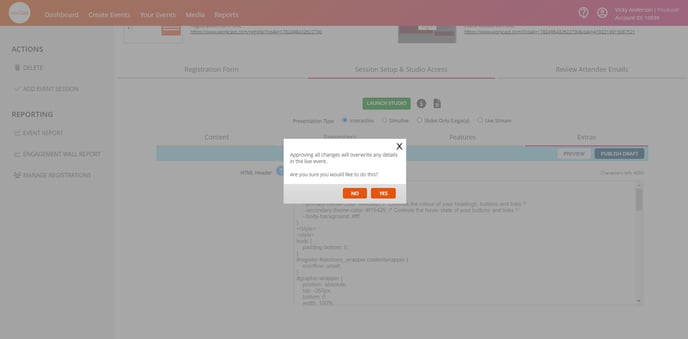
12. Click on your event URL (registration page and auditorium) to check your change is complete
13. Go back into Session Setup & Studio Access and Features, scroll down to Resources and click the X to delete your background resource - don't worry this will not delete it from your page