Adding Captions via Chrome
In the Chrome browser, you have the option to activate the Live Caption feature. This enables you to view real-time captions whenever there is speech or when a video is playing. It's important to note that the captions will not appear when you are speaking; they will only be visible when those on the event are speaking.
Note: Attendees must enable this feature themselves within their Chrome browser. Once they are enabled, captions are visible to only them. Chrome currently supports English only.
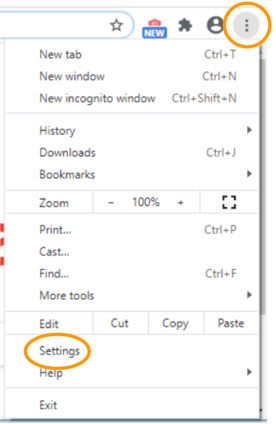
STEP 1
Open Chrome and access Settings.
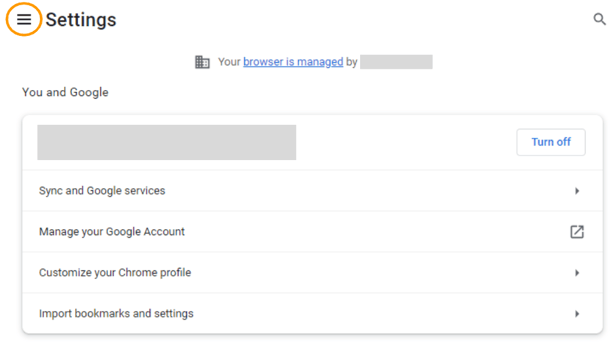
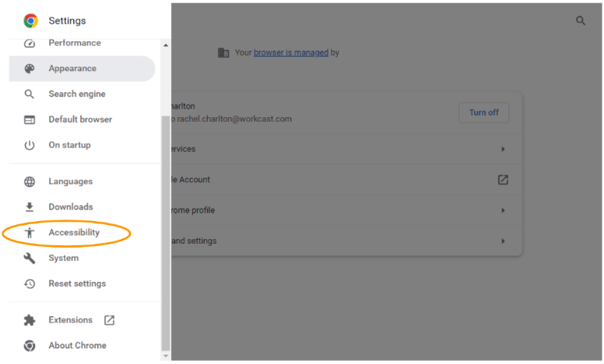
STEP 2
Click the Menu icon in the top left of your screen (you may be able to skip this step as the menu may already be visible, depending on your screen size) and select Accessibility.
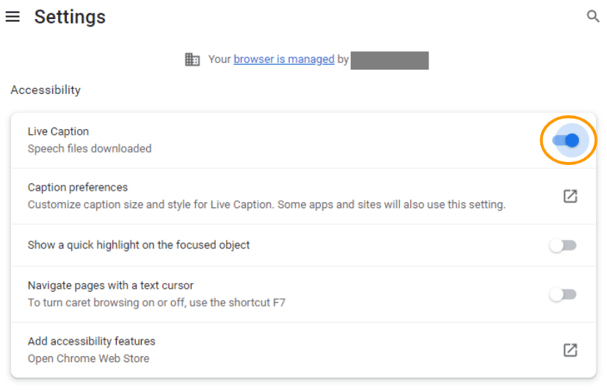
STEP 3
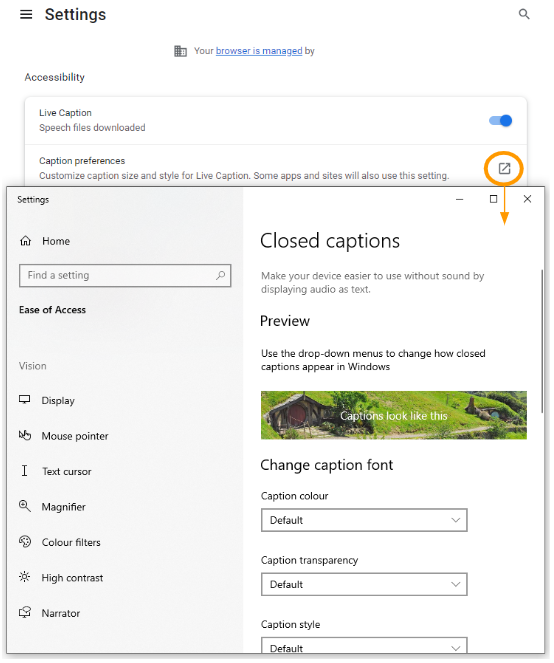
Enable Live Caption. Speech recognition files will be downloaded. You will then see the below:
STEP 4
By clicking the Caption Preferences link, your system settings will appear which gives you the ability to stylise captions to your personal preference.
STEP 5
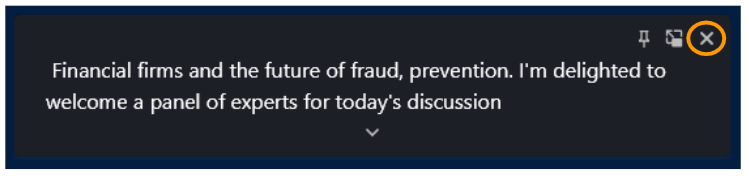
Close your browser and reopen it to activate the Caption functionality. When a webinar is broadcasting or a video is playing, captioning will appear at the bottom of your window, similar to the below image. Captions can be moved, pinned or closed as and when needed. If the audio stops, the captions will also stop and close automatically shortly after.
Note: If you require the captions again after closing them, simply refresh your page.